Showing posts with label Christmas. Show all posts

Wednesday, December 21, 2022

Soft-Baked M&M Cookie Bars

I made a few different kinds of cookies for Christmas this year and I've been trying to figure out if I should make any more or not. I had a bag of red and green mini M&Ms but have never really loved the cookie recipe that is on the bag, so I wasn't sure what to make with them. Usually I would make a skillet cookie but that is a better dessert to take to a small gathering where you will cut and serve it there (like after having dinner at someone's house). I saw this Soft-Baked M&M Cookie Bars recipe and decided to give it a try because it looked easy and I could cut them up and bring them to my sons' Preschool Christmas party on a tray, and freeze any remaining bars.

This recipe is super simple to make and takes no time at all. I love recipes that don't require a mixer and use melted butter (rather than having to plan ahead to soften butter).

I only used mini M&Ms in this recipe - I did not add chocolate chips. One 11-ounce bag of mini M&Ms was not quite 2 cups, so it was the perfect amount. I mixed most of them into the dough but reserved a few which I put on top before baking the bars in the oven.

Do not let these bars over-bake! Mine were a bit overdone when I checked them at 25 minutes the second time I made them (for Easter), so next time hopefully I'll remember to check them earlier.

If you use parchment paper and let the bars cool for an hour, it is very easy to lift them out of the pan and cut them up. I cut all 4 edges off and then cut the rest into little bars.

These are delicious and come together so quickly - give them a try the next time you have M&Ms that you aren't quite sure what to do with!


Soft-Baked M&M Cookie Bars

Recipe courtesy “Sally’s Baking Addiction” Website


Think of these bars as no-chilling, no-rolling EASY M&M cookies! Using melted butter, more brown sugar than white sugar, and a touch of cornstarch guarantee the absolute softest, chewiest M&M cookie bar texture.


2¾ cups all-purpose flour

1½ teaspoons cornstarch

1 teaspoon baking soda

½ teaspoon salt

1 cup (2 sticks) unsalted butter, melted & cooled for just 5 minutes*

1 cup packed light or dark brown sugar

½ cup granulated sugar

2 large eggs, at room temperature

2 teaspoons pure vanilla extract

1¼ cups mini or regular-size M&Ms

¾ cup semi-sweet chocolate chips


Preheat the oven to 350°. Adjust oven rack to the center rack position. Line the bottom and sides of a 9×13-inch baking pan with parchment paper, leaving an overhang on the sides to easily lift the bars out of the pan. Set aside.


Whisk the flour, cornstarch, baking soda, and salt together in a large bowl. Set aside.


In a medium bowl, whisk the melted butter, brown sugar, and granulated sugar together until no brown sugar lumps remain. Whisk in the eggs and vanilla extract. Pour this into the flour mixture and mix together with a large spoon or rubber spatula. The dough will be very soft, slick, and thick. Fold in the M&Ms and chocolate chips. The M&Ms and chips may not stick to the dough because of the melted butter, but do your best to combine them.


Transfer dough to the prepared baking pan and press/smooth into an even layer. Bake for 26–30 minutes or until lightly browned on the sides and top and a toothpick inserted in the center comes out mostly clean with a few moist (not wet) crumbs. Do not over-bake. If you notice the bars browning too much before 25 minutes, tent the pan with foil. Bars puff up in the oven, but settle as they cool.


Allow the bars to cool in the pan set on a wire rack for at least an hour. While they’re still warm, I like to press a few more M&Ms and chocolate chips into the tops, just for looks (optional!). Once relatively cool, lift the bars out of the pan using the overhang on the sides and cut into squares.


Cover leftover bars and store at room temperature for up to 1 week.


NOTES:

Make Ahead & Freezing Instructions: You can make the cookie dough and chill it in the refrigerator for up to 3 days or freeze for up to 3 months. Allow to come to room temperature and continue with step 4. Baked cookie bars freeze well for up to 3 months. Thaw bars overnight in the refrigerator and bring to room temperature before serving.


Cornstarch: If you don’t have cornstarch, you can leave it out. The cookie bars will still be soft.


Butter: Avoid letting the melted butter cool for too long, otherwise your dough will be crumbly instead of soft (and your cookie bars can end up cakey). You want it still warm, but not hot enough to begin cooking the eggs.


M&Ms: You can use regular-size, mini, or a mix of both. I like to crush some of them, too, to sprinkle on the top before baking. Totally optional!


Do I have to add chocolate chips? You can skip the chocolate chips. If you skip them, increase M&Ms to 1½ cups. You could also replace the chocolate chips with white chocolate chips, butterscotch chips, or peanut butter chips.


Edit April 2023: I made these again with regular size M&Ms for Easter. I prefer baking with the mini M&Ms and wish they made them more often in seasonal colors. I've only ever seen them in Christmas colors and in Red, White & Blue over the summer. These were slightly over-baked so next time I will be sure to set my timer for less than 25 minutes and check them earlier.


Thursday, December 9, 2021

Winter Sweet Citrus Salad with Pomegranate & Pistachios

Last Christmas we decided to have our own small Christmas dinner at home. Our menu consisted of homemade spaghetti with shrimp, homemade rolls from my mom and a winter citrus salad recipe I found online. I originally got this salad idea from an Instagram post I saw from an Italian lady that I follow. I could not find a recipe on her website for the photo she posted so I started searching and found the one below, which looks pretty similar, and then I made some changes to it to try to make it more like the one I found on Instagram.

I'm not much of a salad person, but this salad looked irresistible so I tried it out and it was so good! I had never cut pomegranates before so I had to look up videos online on how to do it.

I added mozzarella on top of mine and omitted the red onion. Instead of mixed greens I used arugula, and instead of blood oranges I used Cara Cara oranges (my favorite!). This salad was so good and I enjoyed making it for several days after Christmas until I ran out of ingredients!


Winter Sweet Citrus Salad with Pomegranate & Pistachios

Recipes courtesy Home and Plate Blog


Celebrate Valentine's Day with a colorful arrangement of citrus on a bed of greens. Serve this Winter Sweet Citrus Salad with Pomegranate & Pistachios.


1 ruby red grapefruit

1 navel orange

2 blood oranges

1 sliced red onion

Mixed greens

1 tablespoon pomegranate arils

1 tablespoon pistachios

2 tablespoons champagne or white wine vinegar

2 tablespoons honey

¼ cup olive oil

Salt and pepper


To make the dressing mix together the honey, olive oil, vinegar, salt and pepper and whisk or shake well to incorporate the honey. (Warming in the microwave for 10 seconds helps to thin the honey.)


Peel the citrus, being sure to cut away the bitter white pith. Using a serrated knife, slice the citrus into thin rounds. Arrange two plates with mixed greens, placing the citrus and red onion on top. Sprinkle with pistachios and pomegranate arils. Drizzle the salad with the dressing and serve.


Inspiration


My Creation


Wednesday, December 8, 2021

Pizzelles

Growing up my sister Paula and I always made Pizzelles around Christmas time. Last year I thought about buying a Pizzelle maker but it was close to Christmas and I had already baked a lot of cookies so I didn't end up buying one, but a few weeks ago I had the idea again and started searching for a Pizzelle maker online. I wanted something with a traditional finish (not nonstick) like the one my mom has, and this CucinaPro one on Amazon had good reviews so I went for it. It's a pretty small appliance so it won't take up much storage room which I like.

A few days after receiving it, I made a recipe of batter from the included booklet to try it out. I don't like the licorice taste of Anise flavoring that a lot of people put in their Pizzelles, so I kept mine simple by just using vanilla extract. I had not made these since I was younger but it's very easy to do (and even easier when you're not making a ton of recipes at one time like we used to!). One recipe made 18 Pizzelles which was a good amount for my small family. My kids, husband and I ate a few after I made them and then I stored the rest in an airtight container and we ate them throughout the week. Sometimes we put Nutella on them, too.

You can get creative with these - when they first come off the Pizzelle maker they are soft, so you can quickly shape them into various things right after you take them off (cone, cannoli, bowl, etc.) before they harden. You can put custard or whipped cream in them and top with fruit, or ricotta cannoli filling. For my initial time making them, I just let mine cool flat on a cooling rack but I hope to try them in a cannoli shape soon. You can also get creative with the flavor by using whatever extracts you like. I think lemon or almond would taste delicious!

All of the recipes, instructions and tips below are taken directly from the CucinaPro Pizzelle Baker Manual


Pizzelles

Recipes courtesy CucinaPro Pizzelle Baker Manual


PIZZELLES

3 large eggs

¾ cup sugar

2 teaspoons vanilla extract

1 stick (½ cup) butter/margarine, melted and cooled

½ teaspoon anise seed (optional)

1¾ cups all-purpose flour

2 teaspoons baking powder


Melt butter and set aside. Beat eggs and sugar until light yellow, 2-3 minutes. Add melted butter and vanilla. Beat until blended. Sift together 1 cup of the flour and the baking powder, then combine with wet ingredients. Fold together until just blended, add remaining flour and fold again until just incorporated.


Heat pizzelle iron, place about 1 heaping tablespoon of batter on the center of the pattern. Bake until golden brown, about 40-50 seconds. Remove and cool on a rack. Repeat with remaining batter.


CITRUS PIZZELLES

Omit the vanilla and anise flavorings. Add 1 teaspoon finely grated lemon/orange/lime zest or flavorings or oils.


CHOCOLATE PIZZELLES

Using the first recipe in this book, omit the vanilla and anise flavors; add 3 tablespoons cocoa and 3 tablespoons sugar. Bake the same way in your iron.


ALMOND PIZZELLES

Using the first recipe in this book, omit the vanilla and anise flavors; add 1 tablespoon almond extract or 2 tablespoons Amaretto. Add one cup of finely chopped/ground almonds to the batter. Bake as usual in your iron.


SOUTHERN ITALIAN PIZZELLES

These tend to be thicker and heavier than a regular pizzelle.


6 large eggs

2 cups sugar

2 sticks (1 cup) butter/margarine, melted and cooled

2 teaspoons vanilla extract

7 cups all-purpose flour

1 teaspoon anise seed (optional)

4 Tablespoons baking powder


Beat eggs and sugar, add cooled melted butter, vanilla and anise seed. Sift flour and baking powder and add to egg mixture. Batter will have a dough like consistency. Bake the same way in your iron.


PIZZELLE BAKER INSTRUCTIONS


For best result, follow instructions. Note that when your Pizzelle Baker is new, you may notice slight smoking or odor. This is normal with many heating appliances and will not recur. This does not affect the safety of your appliance. Also, it is recommended that you discard the first two pizzelles from your baker.


Plug into a wall outlet. The indicator light will begin to glow, indicating that the baker has begun preheating. It will take approximately 5 to 8 minutes to reach baking temperature. When the proper baking temperature has been reached, the indicator light will turn off. At this point, you will see the light going on and off. This only means that the baker is maintaining the proper baking temperature, and NOT when to start or stop baking.


Before baking the first pizzelle of the day, use a pastry brush to carefully coat the entire surface of both halves of the Pizzelle Baker with vegetable oil or melted shortening. Spray shortening works very well for this purpose as well. Repeat this only at the start of each day that you bake pizzelles.


Place about 1 heaping tablespoon of batter on each grid pattern. You may want to use 2 spoons to place the batter on the grid, using the second spoon to push the batter off of the first spoon. With some experimentation, you will learn that by placing the batter slightly behind the center of the pattern your pizzelles will come out closer to a round shape because as you close the baker, the batter squeezes forward slightly.


Close the baker and clamp the handles together with the handle clamp. Baking will take approximately 50 seconds depending on your preference for browning, or the consistency of the batter.


Remove the pizzelles from the grid with a spatula. If a flat pizzelle is desired, place it on a cake rack to cool. If you wish to shape your pizzelle, do so by removing one pizzelle from the grid and shaping it immediately while it is still warm. For a cone shape, use a wooden cone roller. The other pizzelle will remain warm and pliable until you are ready to remove it for shaping.


If you need to take a short break, close the baker to maintain the heat. When you return to baking, you will notice that the first two pizzelles will bake much faster because extra heat has been allowed to buildup.


When you are through baking, simply unplug the power cord from the wall outlet to turn the baker off and leave the baker open to allow it to cool. After it has cooled, brush any crumbs from the grooves and wipe off the grids with a dry paper towel to absorb any excess margarine or shortening.


PIZZELLE TIPS


When you shape warm pizzelles, it is always easier to use an oven mitt. They are warmer than you think.


You can shape your warm pizzelles over a custard dish to make small bowls. Once they have cooled, you can melt some chocolate bits, coat the inside of them then serve ice cream, custard, or fruit.


You can form them into cones, once they are cooled put either a miniature marshmallow or snip a quarter of a large marshmallow in the bottom of the cone. Now you can use it for a small ice cream cone or fill it with custard and fruit.


You can use them to make ice cream sandwiches, or smooth a thin layer of jelly on one and cap it with another. Then when you pour a mug of coffee, place one of these on top of the mug and it will warm it nicely to nibble on while you enjoy your coffee.


You can roll them over a wooden spoon making “taco shell” shapes. Then have dishes out with whip cream, custard, fruits and other toppings so that people can make their own decadent little treats at showers.


My own favorite shower dish is to make chocolate pizzelle cones and let them cool. Melt some chocolate bits and dip the large open end so that it has a chocolate “lip”. You can also use the marshmallow bit in the bottom of the cone to prevent things squirting out of the bottom and put a bit of chocolate over that. Take berries (favorites seem to be raspberries and strawberries) and clean them. Cool Whip will stand up better if there will be some time between the making and eating, pipe this into the cones and then finish it off by sticking one berry right in the end of the cone. Refrigerate until serving.


Not bad for my first time making Pizzelles since I was a kid

Nutella on a pizzelle

Anthony approves!

Thursday, August 5, 2021

Reese's Chewy Chocolate Cookies with Peanut Butter Chips

Last weekend my husband and I hosted a party for my cousins and their spouses, which we usually have at Christmastime, but for the first time this past year we could not have it. The dessert for our Christmas party is always homemade cookies, so we kept that tradition for our summer version of the party. A few people brought various kinds of cookies, and my sister Caterina made these delicious Reese's Chewy Chocolate Cookies with Peanut Butter Chips. I had never made these before but decided to try them out today to bring on our upcoming beach vacation. My grandma always made tons of cookies to take on vacation, and the past few years I haven't had the time to make any, but that's a tradition I want to keep going so this year I made sure to set some time aside to bake before our trip.

I used Crisco instead of butter but otherwise followed the recipe. This cookie recipe is on the back of the Reese's Peanut Butter Chips bag, but that recipe is half of the amount of ingredients compared to the recipe that I found online, except that they both call for the same amount of peanut butter chips. So if you like a ton of peanut butter chips in your cookies, use two bags for the recipe below. I found one bag to be sufficient. I used a small cookie scoop and got 79 cookies out of this recipe.

I also recently purchased a KitchenAid Silicone Mixer Spatula that I used for the first time today, and I love it! It is the Aqua Sky color, which matches my mixer, but more importantly it is made specifically for use with the mixer bowl and scrapes batter from it so well. If you use a KitchenAid stand mixer often, I highly recommend this spatula. It would also make an excellent gift for the bakers in your life!

This recipe is very easy to make and doesn't take much time either. My husband and toddler taste-testers approved, and I'm sure your family and friends will too!


REESE'S Chewy Chocolate Cookies with Peanut Butter Chips


All the peanut butter chocolate bliss you can imagine made into an unbelievable cookie! Get your mixing bowl ready and stir together REESE’S peanut butter chips and HERSHEY’S cocoa for your new go-to cookie recipe. Eat these chewy chocolate peanut butter chip cookies straight out of the cookie tin or add a scoop of ice cream to the center of two cookies for an ice cream sandwich. Bake REESE’S chewy cookies for a special event or whenever you need a sweet dessert. You can’t go wrong with peanut butter and chocolate, right?


2 cups all-purpose flour

¾ cup HERSHEY’S Cocoa

1 teaspoon baking soda

½ teaspoon salt

1¼ cups butter or margarine (2½ sticks), softened or Crisco

2 cups sugar

2 eggs

2 teaspoons vanilla extract

1 2/3 cups REESE’S Peanut Butter Chips (10-oz. package)


Heat oven to 350°F. Stir together flour, cocoa, baking soda and salt; set aside.


Beat butter (or Crisco) and sugar in large bowl with mixer until fluffy. Add eggs and vanilla; beat well. Gradually add flour mixture, beating well. Stir in peanut butter chips. Drop by rounded teaspoons onto ungreased cookie sheet.


Bake 8 to 9 minutes. (Do NOT over bake; cookies will be soft. They will puff while baking and flatten while cooling). Cool slightly; remove from cookie sheet to wire rack. Cool completely.


Makes about 54 cookies.


Pan Recipe: Spread batter in greased 15½ x 10½ x 1-inch jelly-roll pan. Bake at 350°F for 20 minutes or until set. Cool completely in pan on wire rack; cut into bars. Makes about 4 dozen bars.


Ice Cream Sandwiches: Prepare "Chewy Chocolate Cookies" as directed; cool. Press small scoop of vanilla ice cream between flat sides of cookies. Wrap and freeze.


Waiting on cookies to cool off so he can taste them!


Saturday, July 3, 2021

Best Sugar Cookie Recipe

My kids love using Play-Doh, but I hate it. The smell and finding dried up bits of it everywhere afterwards just gets to me. Whenever I use it with them, I think of the other things I'd rather be doing with them with real dough like baking cut-out cookies or making homemade pretzels or pizza. I didn't have any cookie cut-outs (other than an umbrella one that was a party favor from my cousin's bridal shower) so I bought a few Ann Clark ones online. I searched on Amazon and found a few Ann Clark sets but most of the sets only had 1 or 2 I liked in them and the rest in the set I knew I would never use. I really wanted a heart, a star, some other patriotic ones, and some vehicles or other things I knew my boys would like, so I went on the Ann Clark website and ordered 14 individual ones. They were $1.99 each and $4.50 for shipping, so in my opinion not too bad for having ones I know we will use without having a bunch laying around that we won't. I ended up purchasing the Helicopter, Airplane, Firetruck, Fire Hydrant, Police Car, Police Badge, Train, Vintage Truck, Cross, Labrador Retriever, USA Map, Flag, Star and Heart. I held off on getting holiday-themed ones for now, but the Ann Clark website has tons of options if you are looking for something specific, and they're made in the USA! Just be sure to hand wash and immediately towel dry them, or even put them in the warm oven on a cookie sheet to get any remaining water off. Do not soak them even for just a few minutes - I made this mistake and they look like they have rust on them. I did not read the FAQ's on the Ann Clark website before doing this but it clearly states how to correctly clean them - oops!

Next I needed a recipe. I have never made cut-outs on my own. My sisters and I used to make them on Christmas Eve when we were growing up, but my older sisters always made the dough. I know some of them still make cut-outs with their kids so I asked my sister Maria what recipe she uses and she sent me this one. She said it doesn't make a ton but it's easy and doesn't need chilled first and they taste good, which all sounded perfect to me.

The dough was very easy to make and to work with. I use a large Silpat mat when working with dough (update March 2022: now I used a wooden dough board which I like even more) and then used an OXO Cut and Serve Nylon Turner to gently lift the cookies off the mat and place them on the cookie sheet, which I lined with parchment paper (update March 2022: now I use Silpat half sheet baking mats).

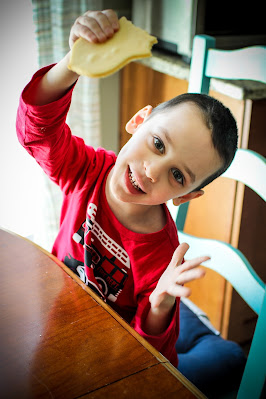
And finally, I needed something to decorate the cookies with. I'm simple so I just used red and blue sugar sprinkles, and my toddlers excitedly told me which colors to put on which cookies. I got about 30 cookies out of this recipe, but some of the cookie cutters were pretty big (update December 2021: I made these again with Christmas cookie cutters and got 46 cookies out of one recipe, but they were not as thick as the first time I made them and the cookie cutters were not as big). After dinner, my boys each picked which shape they wanted. My foodie picked the heart (the biggest cookie!) and his twin brother followed along, picking the second heart. My cookie testers approved, so we will definitely be making these again soon!

Update March 2022: I recently purchased a Cookie Rolling pin, which has made rolling out the cookie dough so much easier. It makes 1/4" thick cookies. I get about 23 cookies out of 1 recipe using this rolling pin, but they look much better since they are all the same thickness. I recommend making a double recipe! I plan on icing these plain police car and police badge cookies later, so stayed tuned for an icing recipe soon.

Update January 2026: If making a double recipe, use a larger mixer or make them one recipe at a time. My 5-quart mixer was struggling with a double recipe.

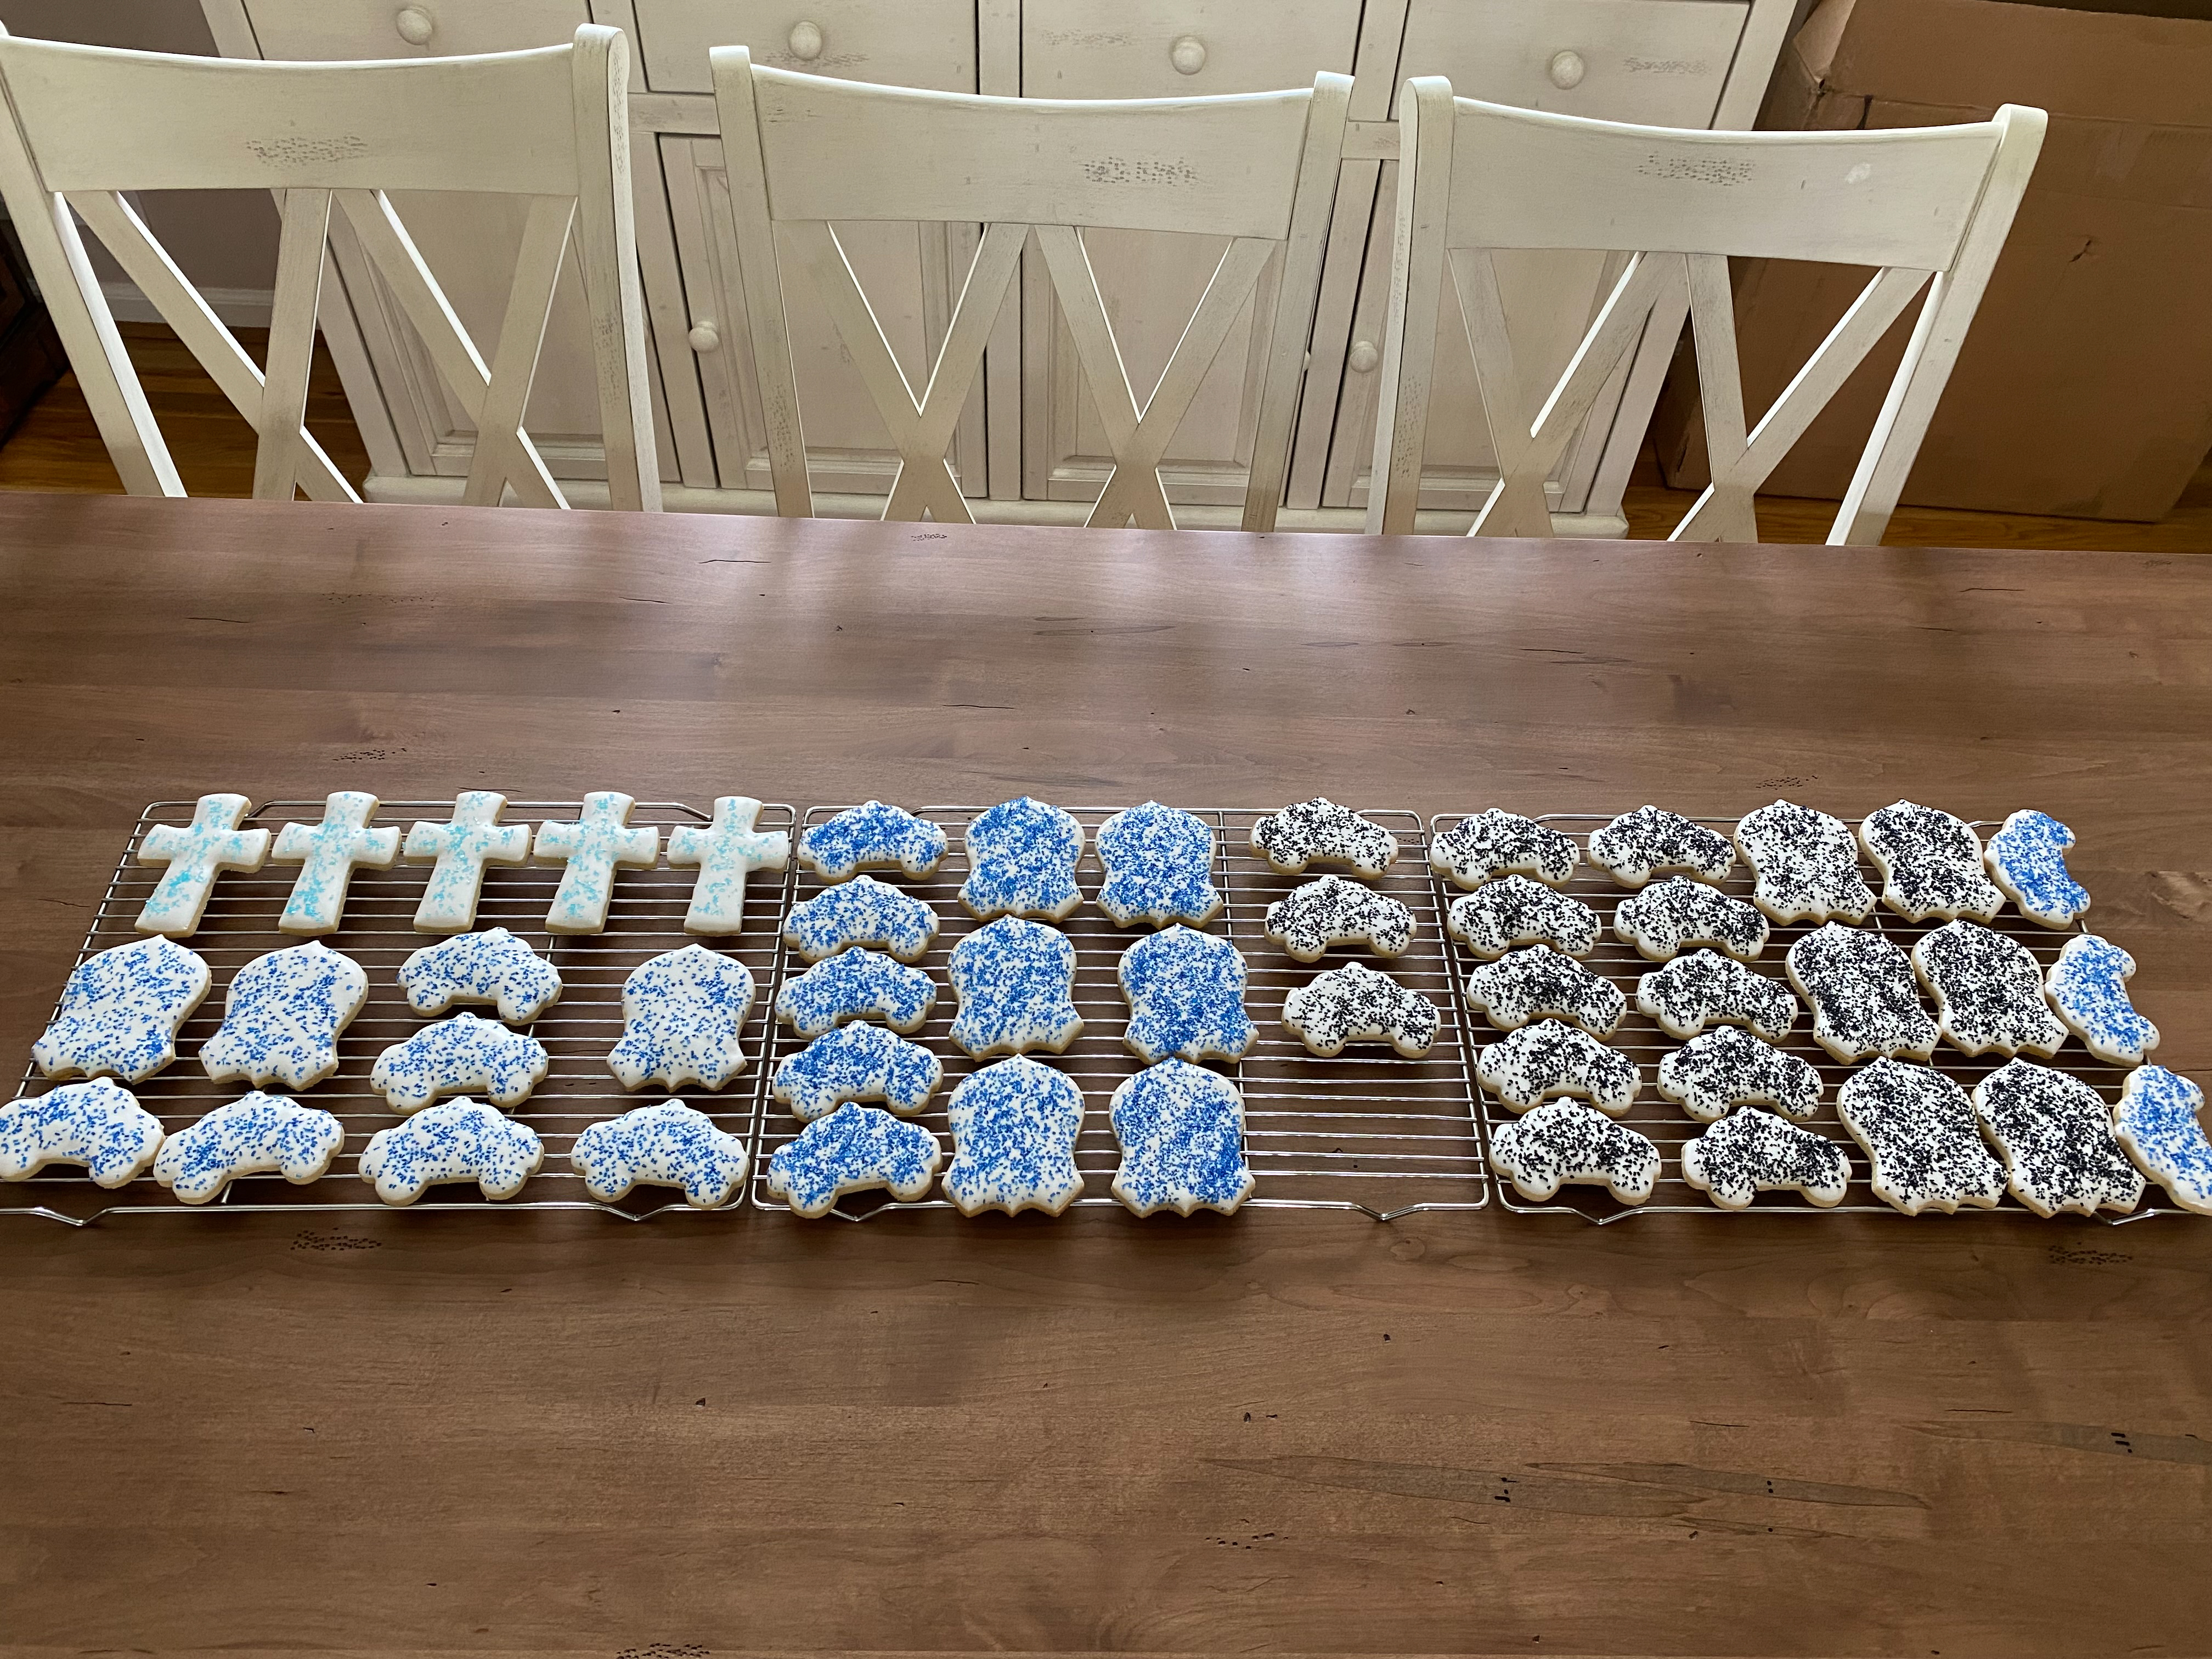
A double recipe made 54 cross cookies (for my sons' and nieces' First Communion party).


Best Sugar Cookies

Recipe courtesy In Katrina’s Kitchen website


Soft cut out sugar cookie recipe that keeps its shape and dough does not need to be chilled before baking – perfect edges every time!


1 cup unsalted butter, room temperature

1 cup granulated white sugar

1 teaspoon vanilla extract

½ teaspoon almond extract (optional – if not using, replace it with an equal amount of vanilla extract)

1 egg, room temperature

2 teaspoons baking powder

½ teaspoon salt

3 cups all-purpose flour


PREHEAT oven to 350°.


In the bowl of your mixer, CREAM butter and sugar until smooth, at least 3 minutes.


BEAT in extracts and egg.


In a separate bowl, COMBINE baking powder and salt with flour and add a little at a time to the wet ingredients.


IMPORTANT NOTE: If the dough looks crumbly keep mixing for 30 seconds to 1 minute longer. The dough should be pulling away from the sides of the mixer.


If the dough still looks too dry or stiff for your mixer, turn out the dough onto a countertop surface, flour surface as needed. Wet your hands and finish off kneading the dough by hand.


DO NOT CHILL THE DOUGH. Divide into workable batches (2-3 chunks), roll out onto a floured surface, and cut. You want these cookies to be on the thicker side (closer to 1/4 inch rather than 1/8). Add sprinkles on top of cookies before baking.


Bake at 350° for 6-8 minutes for smaller cookies or 8-9 minutes for larger cookies. Let cool on the cookie sheet until firm enough to transfer to a cooling rack.


Yield: 36 cookies.


Photos from March 2022 for my brother-in-law's retirement party:


Photo from April 2022 using royal icing and sprinkles:


Photo from December 2022:


Photos from January 2023 for my twin boys' 5th Birthday - a double recipe made 64 cookies! I brought some to school for them (on 2 separate days since they are with different groups of kids) and used the rest for their birthday party at home. Everyone loved them!:


Photo from January 2026 for my twin boys' 8th Birthday - a double recipe made 54 cookies. I used dye-free sprinkles on these.