My twin sons' 8th birthday is coming up and as I was trying to figure out what to make to send in to school for them to share with their classmates, I realized I only have 2 birthdays left of them being in single digits so I should use these number cookie cutters again that I bought and used when they turned 5.
I used this sugar cookie recipe (it's easy and great because it doesn't need refrigerated like some do), this royal icing recipe and these dye-free sprinkles (I used the entire bottle of sprinkles for these). For the cookies I use a Cookie Rolling pin, which makes rolling out the cookie dough so easy. It makes 1/4" thick cookies but they also have a thicker 5/16" rolling pin. I got 54 "8" shaped cookies out of a double recipe.
I like the make the cookies one day, freeze them, and then make the icing another day. One recipe of this icing is enough for two to three recipes of the sugar cookies that I make, depending on how thick the icing is. The cookies are a little soft and I like to dip them in the icing rather than pipe it on, so doing that when they are frozen and less likely to break works well. I find it easiest to dip the cookies in the icing, let the excess run off, then turn the cookie right side up and lightly shake it so the icing will even out. I use a toothpick to pop air bubbles and smooth out the icing, then I top with sprinkles (note that sprinkle colors might run on the white icing) and let them set for at least 2 hours (longer if it the icing is thick) before putting the cookies back in the freezer.
For the icing I use Wilton Meringue Powder, which you can find in the baking aisle of your grocery store. If they don't have it, Amazon does although it likely costs more there. This should stay good for about 2 year after opening it. Watch this video to give you an idea of what the final icing consistency should be.
This recipe is very simple, only requires 3 ingredients and makes the cookies look really nice. If you like making sugar cookies, give it a try!
My Favorite Royal Icing
Recipe courtesy Sally’s Baking Addiction website
Here is my classic easy royal icing made with meringue powder. It’s easy to work with, sets quickly, and won’t break your teeth when it dries. It has the most delicious taste and texture and makes decorating sugar cookies fun and simple. Use this traditional royal icing recipe for both flooding and outlining your sugar cookies.
4 cups (480g) confectioners’ sugar, sifted, plus more as needed
3 Tablespoons Wilton meringue powder (not plain egg white powder)
9 Tablespoons room-temperature water, plus more as needed
1 teaspoon pure vanilla extract or ½ teaspoon of your favorite flavored extract, such as lemon, coconut, or peppermint (optional)
Gel food coloring (optional for decorating)
In a large bowl using a handheld or stand mixer fitted with a whisk attachment, mix the confectioners’ sugar and meringue powder.
Add the water and a flavoring (if using), and whip on high speed for 1.5–2 minutes. When lifting the whisk up off the icing, the icing should drizzle down and smooth out within 5–10 seconds. If it’s too thick, whip in more water, 1 Tablespoon at a time. I usually need 10 Tablespoons, but on particularly dry days, I use up to 12–14 Tablespoons. Keep in mind that the longer you whip the royal icing, the thicker it becomes. If your royal icing is too thin, just keep whipping it to introduce more air, or you can add more sifted confectioners’ sugar.
If you’d like to tint the icing, divide it into separate bowls for each color, or tint the entire batch one color. A little gel food coloring goes a long way, so use a toothpick to dot the gel into the icing. Stir it in and then add more to deepen the color if desired. Keep in mind that the more you stir, the thicker the icing becomes. If needed, stir in a few drops of water to maintain the target consistency.
When applied to cookies or confections in a thin layer, icing completely dries in about 2 hours at room temperature. If the icing consistency is too thin and runny, it will take longer to dry. If the icing is applied very thickly, it will also take longer to dry. If you’re layering royal icing onto cookies for specific designs and need it to set quickly, place cookies in the refrigerator to help speed up the setting.
NOTES:
You can prepare this royal icing 2-3 days ahead of time. I recommend transferring it to a smaller bowl or container and tightly sealing for up to 3 days in the refrigerator. When you’re ready to use it, let it come to room temperature, then mix it up with a whisk a few times as it may have separated. Whisking in a few drops of water is helpful if it thickened.
When you’re not working directly with the royal icing (for example, you are decorating cookies but you still have some icing left in the bowl that you intend to use next), place a damp paper towel directly on the surface of the royal icing. This prevents it from hardening.
Sugar cookies decorated with royal icing freeze well up to 3 months. Wait for the icing to set completely before layering between sheets of parchment paper in a freezer-friendly container. To thaw, thaw in the refrigerator or at room temperature.
Many royal icing recipes, including this one, yield a lot of icing. Any leftover royal icing can be frozen for up to 2 months. Place leftover royal icing into zipped-top freezer bags. If you have more than 1 color, each color should have its own bag. Before sealing, squeeze as much air out of the bag as possible. Freeze on a flat shelf surface in your freezer. Thaw overnight in the refrigerator and bring to room temperature before using again.


Photo of police officer retirement party cookies from April 2022:
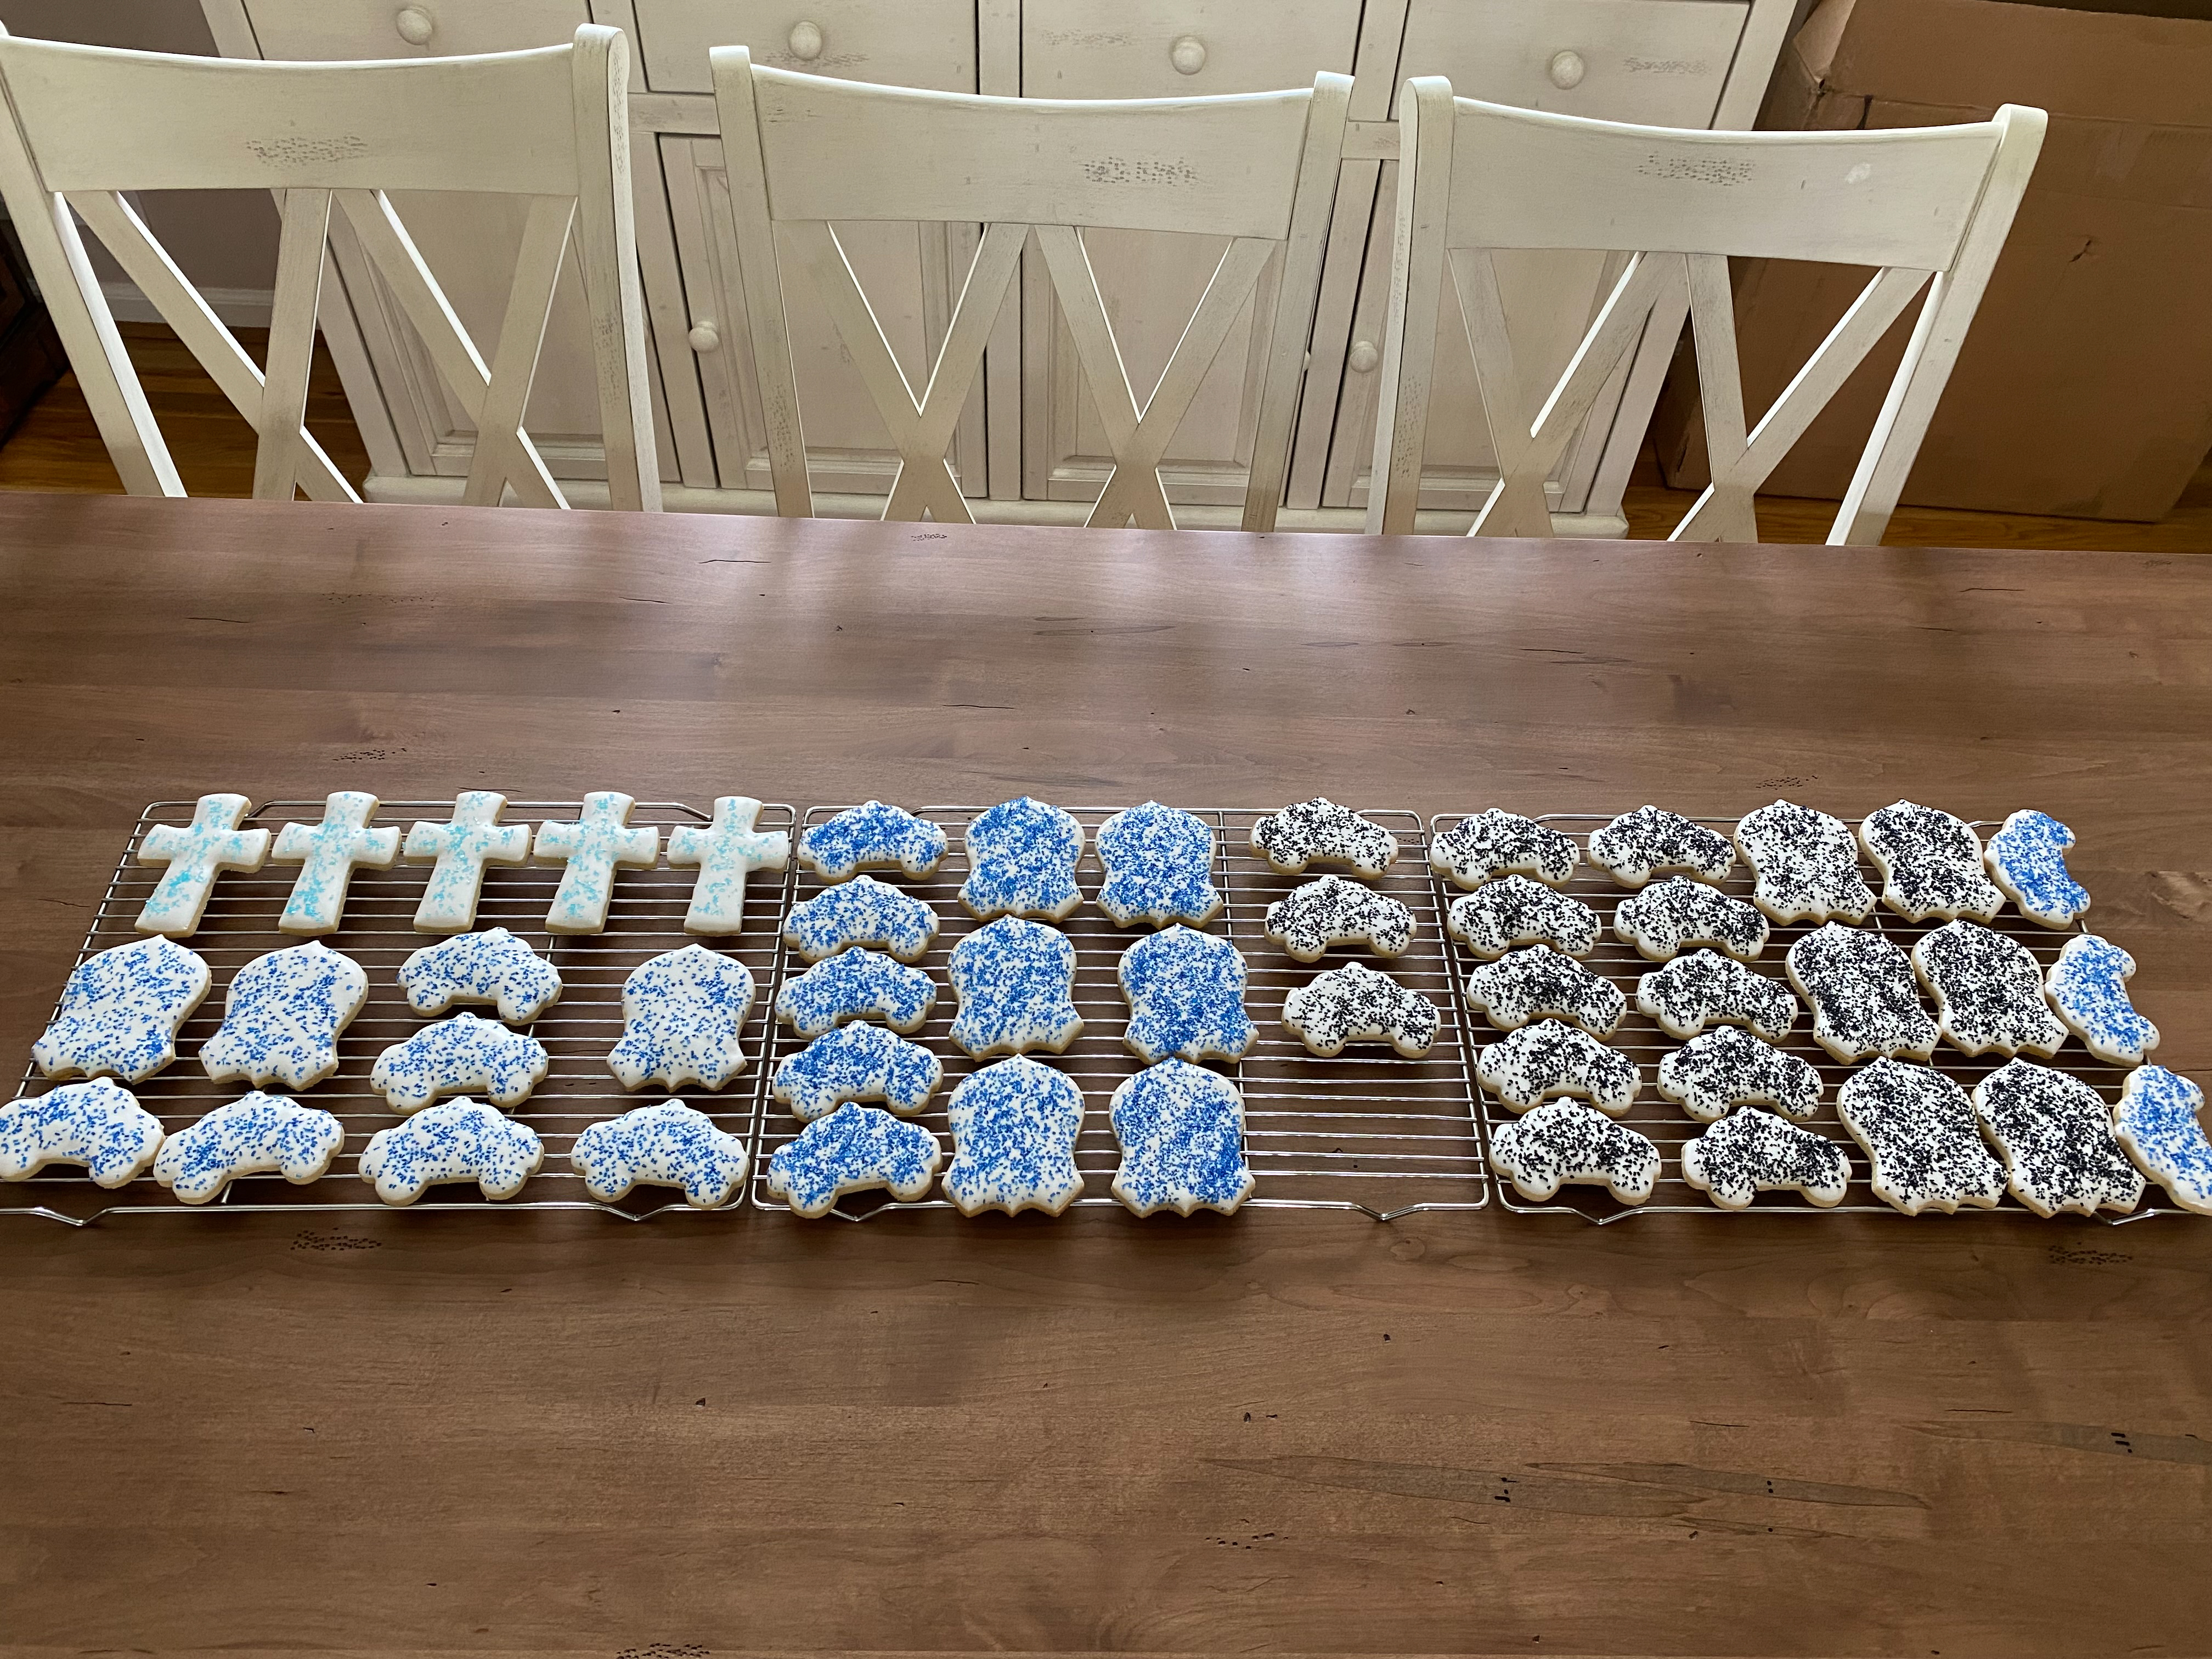


Photos of 8th Birthday cookies from January 2026:


