Showing posts with label kids. Show all posts

Thursday, January 16, 2025

Ooey-Gooey Rice Krispie Treats

Tomorrow is my twin sons' 7th birthday. Every year I make a homemade treat for them to bring to school and share with their classmates. Last year I made these delicious Rice Krispie Treats and they asked me to make them again this year. This is the only recipe I've used so I'm posting it here so I can find it more easily!

For a double recipe, I buy an 18-ounce family size box of Rice Krispies and 4 10-ounce bags of mini marshmallows. I don't measure the marshmallows - I just use 1.5 bags to melt and the remaining .5 bag I keep whole to stir in at the end. I cut 24 large Rice Krispie Treats from a double recipe.


Ooey-Gooey Rice Krispie Treats

Recipe courtesy “Brave Marshmallow” Instagram


10 Tablespoons unsalted butter
½ teaspoon salt (sea salt preferred!)
10 cups Jet-Puffed Mini Marshmallows (save 1 cup for tossing)
1 teaspoon vanilla
7 cups Rice Krispies cereal


Note: you’ll need two 10-ounce bags of mini marshmallows for these treats.
⠀⠀⠀⠀⠀⠀⠀⠀⠀
Line a 9x13 casserole dish with parchment paper, leaving enough overhang to lift the treats out at the end.


Measure out the cereal and mini marshmallows in separate bowls for easy pouring.


Melt butter over low-medium heat in a large pot.


Add salt and stir to combine.


Remove from heat and pour in mini marshmallows (save 1 cup for later!). Fold those little marshmallows over each other until they’ve nearly finished melting completely. I like to leave my marshmallow goop a little lumpy for a bit of texture!


Add in vanilla and stir.


Add cereal and use a spatula to coat with the marshmallows; you want to work rather quickly and be sure to scrape down the side of the pot as you go (less mess to clean up later).


Pour in the remaining cup of mini marshmallows and stir loosely to combine.


Pour mixture into your 9x13 casserole dish; gently push cereal around the dish with fingertips or spatula, being sure to reach all four corners of the dish (otherwise you end up with some pretty funny looking end pieces). Do not press down firmly on the treats, otherwise they lose their ooey-gooey quality, becoming a bit too firm.


Let cool at room temp (don’t refrigerate) for about 30 minutes to an hour before slicing and diving in!

Store in an airtight container at room temperature for 2-3 days.


NOTE: Vanilla is key in these sweet treats, so I recommend going for a pure vanilla extract rather than imitation. Vanilla is going to really bring out the marshmallow flavor and add a bit of depth to this otherwise simple treat, so it’s not an ingredient that I like to cut corners with. My preferred vanilla is Nielsen Massey.


Wednesday, December 21, 2022

Soft-Baked M&M Cookie Bars

I made a few different kinds of cookies for Christmas this year and I've been trying to figure out if I should make any more or not. I had a bag of red and green mini M&Ms but have never really loved the cookie recipe that is on the bag, so I wasn't sure what to make with them. Usually I would make a skillet cookie but that is a better dessert to take to a small gathering where you will cut and serve it there (like after having dinner at someone's house). I saw this Soft-Baked M&M Cookie Bars recipe and decided to give it a try because it looked easy and I could cut them up and bring them to my sons' Preschool Christmas party on a tray, and freeze any remaining bars.

This recipe is super simple to make and takes no time at all. I love recipes that don't require a mixer and use melted butter (rather than having to plan ahead to soften butter).

I only used mini M&Ms in this recipe - I did not add chocolate chips. One 11-ounce bag of mini M&Ms was not quite 2 cups, so it was the perfect amount. I mixed most of them into the dough but reserved a few which I put on top before baking the bars in the oven.

Do not let these bars over-bake! Mine were a bit overdone when I checked them at 25 minutes the second time I made them (for Easter), so next time hopefully I'll remember to check them earlier.

If you use parchment paper and let the bars cool for an hour, it is very easy to lift them out of the pan and cut them up. I cut all 4 edges off and then cut the rest into little bars.

These are delicious and come together so quickly - give them a try the next time you have M&Ms that you aren't quite sure what to do with!


Soft-Baked M&M Cookie Bars

Recipe courtesy “Sally’s Baking Addiction” Website


Think of these bars as no-chilling, no-rolling EASY M&M cookies! Using melted butter, more brown sugar than white sugar, and a touch of cornstarch guarantee the absolute softest, chewiest M&M cookie bar texture.


2¾ cups all-purpose flour

1½ teaspoons cornstarch

1 teaspoon baking soda

½ teaspoon salt

1 cup (2 sticks) unsalted butter, melted & cooled for just 5 minutes*

1 cup packed light or dark brown sugar

½ cup granulated sugar

2 large eggs, at room temperature

2 teaspoons pure vanilla extract

1¼ cups mini or regular-size M&Ms

¾ cup semi-sweet chocolate chips


Preheat the oven to 350°. Adjust oven rack to the center rack position. Line the bottom and sides of a 9×13-inch baking pan with parchment paper, leaving an overhang on the sides to easily lift the bars out of the pan. Set aside.


Whisk the flour, cornstarch, baking soda, and salt together in a large bowl. Set aside.


In a medium bowl, whisk the melted butter, brown sugar, and granulated sugar together until no brown sugar lumps remain. Whisk in the eggs and vanilla extract. Pour this into the flour mixture and mix together with a large spoon or rubber spatula. The dough will be very soft, slick, and thick. Fold in the M&Ms and chocolate chips. The M&Ms and chips may not stick to the dough because of the melted butter, but do your best to combine them.


Transfer dough to the prepared baking pan and press/smooth into an even layer. Bake for 26–30 minutes or until lightly browned on the sides and top and a toothpick inserted in the center comes out mostly clean with a few moist (not wet) crumbs. Do not over-bake. If you notice the bars browning too much before 25 minutes, tent the pan with foil. Bars puff up in the oven, but settle as they cool.


Allow the bars to cool in the pan set on a wire rack for at least an hour. While they’re still warm, I like to press a few more M&Ms and chocolate chips into the tops, just for looks (optional!). Once relatively cool, lift the bars out of the pan using the overhang on the sides and cut into squares.


Cover leftover bars and store at room temperature for up to 1 week.


NOTES:

Make Ahead & Freezing Instructions: You can make the cookie dough and chill it in the refrigerator for up to 3 days or freeze for up to 3 months. Allow to come to room temperature and continue with step 4. Baked cookie bars freeze well for up to 3 months. Thaw bars overnight in the refrigerator and bring to room temperature before serving.


Cornstarch: If you don’t have cornstarch, you can leave it out. The cookie bars will still be soft.


Butter: Avoid letting the melted butter cool for too long, otherwise your dough will be crumbly instead of soft (and your cookie bars can end up cakey). You want it still warm, but not hot enough to begin cooking the eggs.


M&Ms: You can use regular-size, mini, or a mix of both. I like to crush some of them, too, to sprinkle on the top before baking. Totally optional!


Do I have to add chocolate chips? You can skip the chocolate chips. If you skip them, increase M&Ms to 1½ cups. You could also replace the chocolate chips with white chocolate chips, butterscotch chips, or peanut butter chips.


Edit April 2023: I made these again with regular size M&Ms for Easter. I prefer baking with the mini M&Ms and wish they made them more often in seasonal colors. I've only ever seen them in Christmas colors and in Red, White & Blue over the summer. These were slightly over-baked so next time I will be sure to set my timer for less than 25 minutes and check them earlier.


Saturday, July 3, 2021

Best Sugar Cookie Recipe

My kids love using Play-Doh, but I hate it. The smell and finding dried up bits of it everywhere afterwards just gets to me. Whenever I use it with them, I think of the other things I'd rather be doing with them with real dough like baking cut-out cookies or making homemade pretzels or pizza. I didn't have any cookie cut-outs (other than an umbrella one that was a party favor from my cousin's bridal shower) so I bought a few Ann Clark ones online. I searched on Amazon and found a few Ann Clark sets but most of the sets only had 1 or 2 I liked in them and the rest in the set I knew I would never use. I really wanted a heart, a star, some other patriotic ones, and some vehicles or other things I knew my boys would like, so I went on the Ann Clark website and ordered 14 individual ones. They were $1.99 each and $4.50 for shipping, so in my opinion not too bad for having ones I know we will use without having a bunch laying around that we won't. I ended up purchasing the Helicopter, Airplane, Firetruck, Fire Hydrant, Police Car, Police Badge, Train, Vintage Truck, Cross, Labrador Retriever, USA Map, Flag, Star and Heart. I held off on getting holiday-themed ones for now, but the Ann Clark website has tons of options if you are looking for something specific, and they're made in the USA! Just be sure to hand wash and immediately towel dry them, or even put them in the warm oven on a cookie sheet to get any remaining water off. Do not soak them even for just a few minutes - I made this mistake and they look like they have rust on them. I did not read the FAQ's on the Ann Clark website before doing this but it clearly states how to correctly clean them - oops!

Next I needed a recipe. I have never made cut-outs on my own. My sisters and I used to make them on Christmas Eve when we were growing up, but my older sisters always made the dough. I know some of them still make cut-outs with their kids so I asked my sister Maria what recipe she uses and she sent me this one. She said it doesn't make a ton but it's easy and doesn't need chilled first and they taste good, which all sounded perfect to me.

The dough was very easy to make and to work with. I use a large Silpat mat when working with dough (update March 2022: now I used a wooden dough board which I like even more) and then used an OXO Cut and Serve Nylon Turner to gently lift the cookies off the mat and place them on the cookie sheet, which I lined with parchment paper (update March 2022: now I use Silpat half sheet baking mats).

And finally, I needed something to decorate the cookies with. I'm simple so I just used red and blue sugar sprinkles, and my toddlers excitedly told me which colors to put on which cookies. I got about 30 cookies out of this recipe, but some of the cookie cutters were pretty big (update December 2021: I made these again with Christmas cookie cutters and got 46 cookies out of one recipe, but they were not as thick as the first time I made them and the cookie cutters were not as big). After dinner, my boys each picked which shape they wanted. My foodie picked the heart (the biggest cookie!) and his twin brother followed along, picking the second heart. My cookie testers approved, so we will definitely be making these again soon!

Update March 2022: I recently purchased a Cookie Rolling pin, which has made rolling out the cookie dough so much easier. It makes 1/4" thick cookies. I get about 23 cookies out of 1 recipe using this rolling pin, but they look much better since they are all the same thickness. I recommend making a double recipe! I plan on icing these plain police car and police badge cookies later, so stayed tuned for an icing recipe soon.

Update January 2026: If making a double recipe, use a larger mixer or make them one recipe at a time. My 5-quart mixer was struggling with a double recipe.

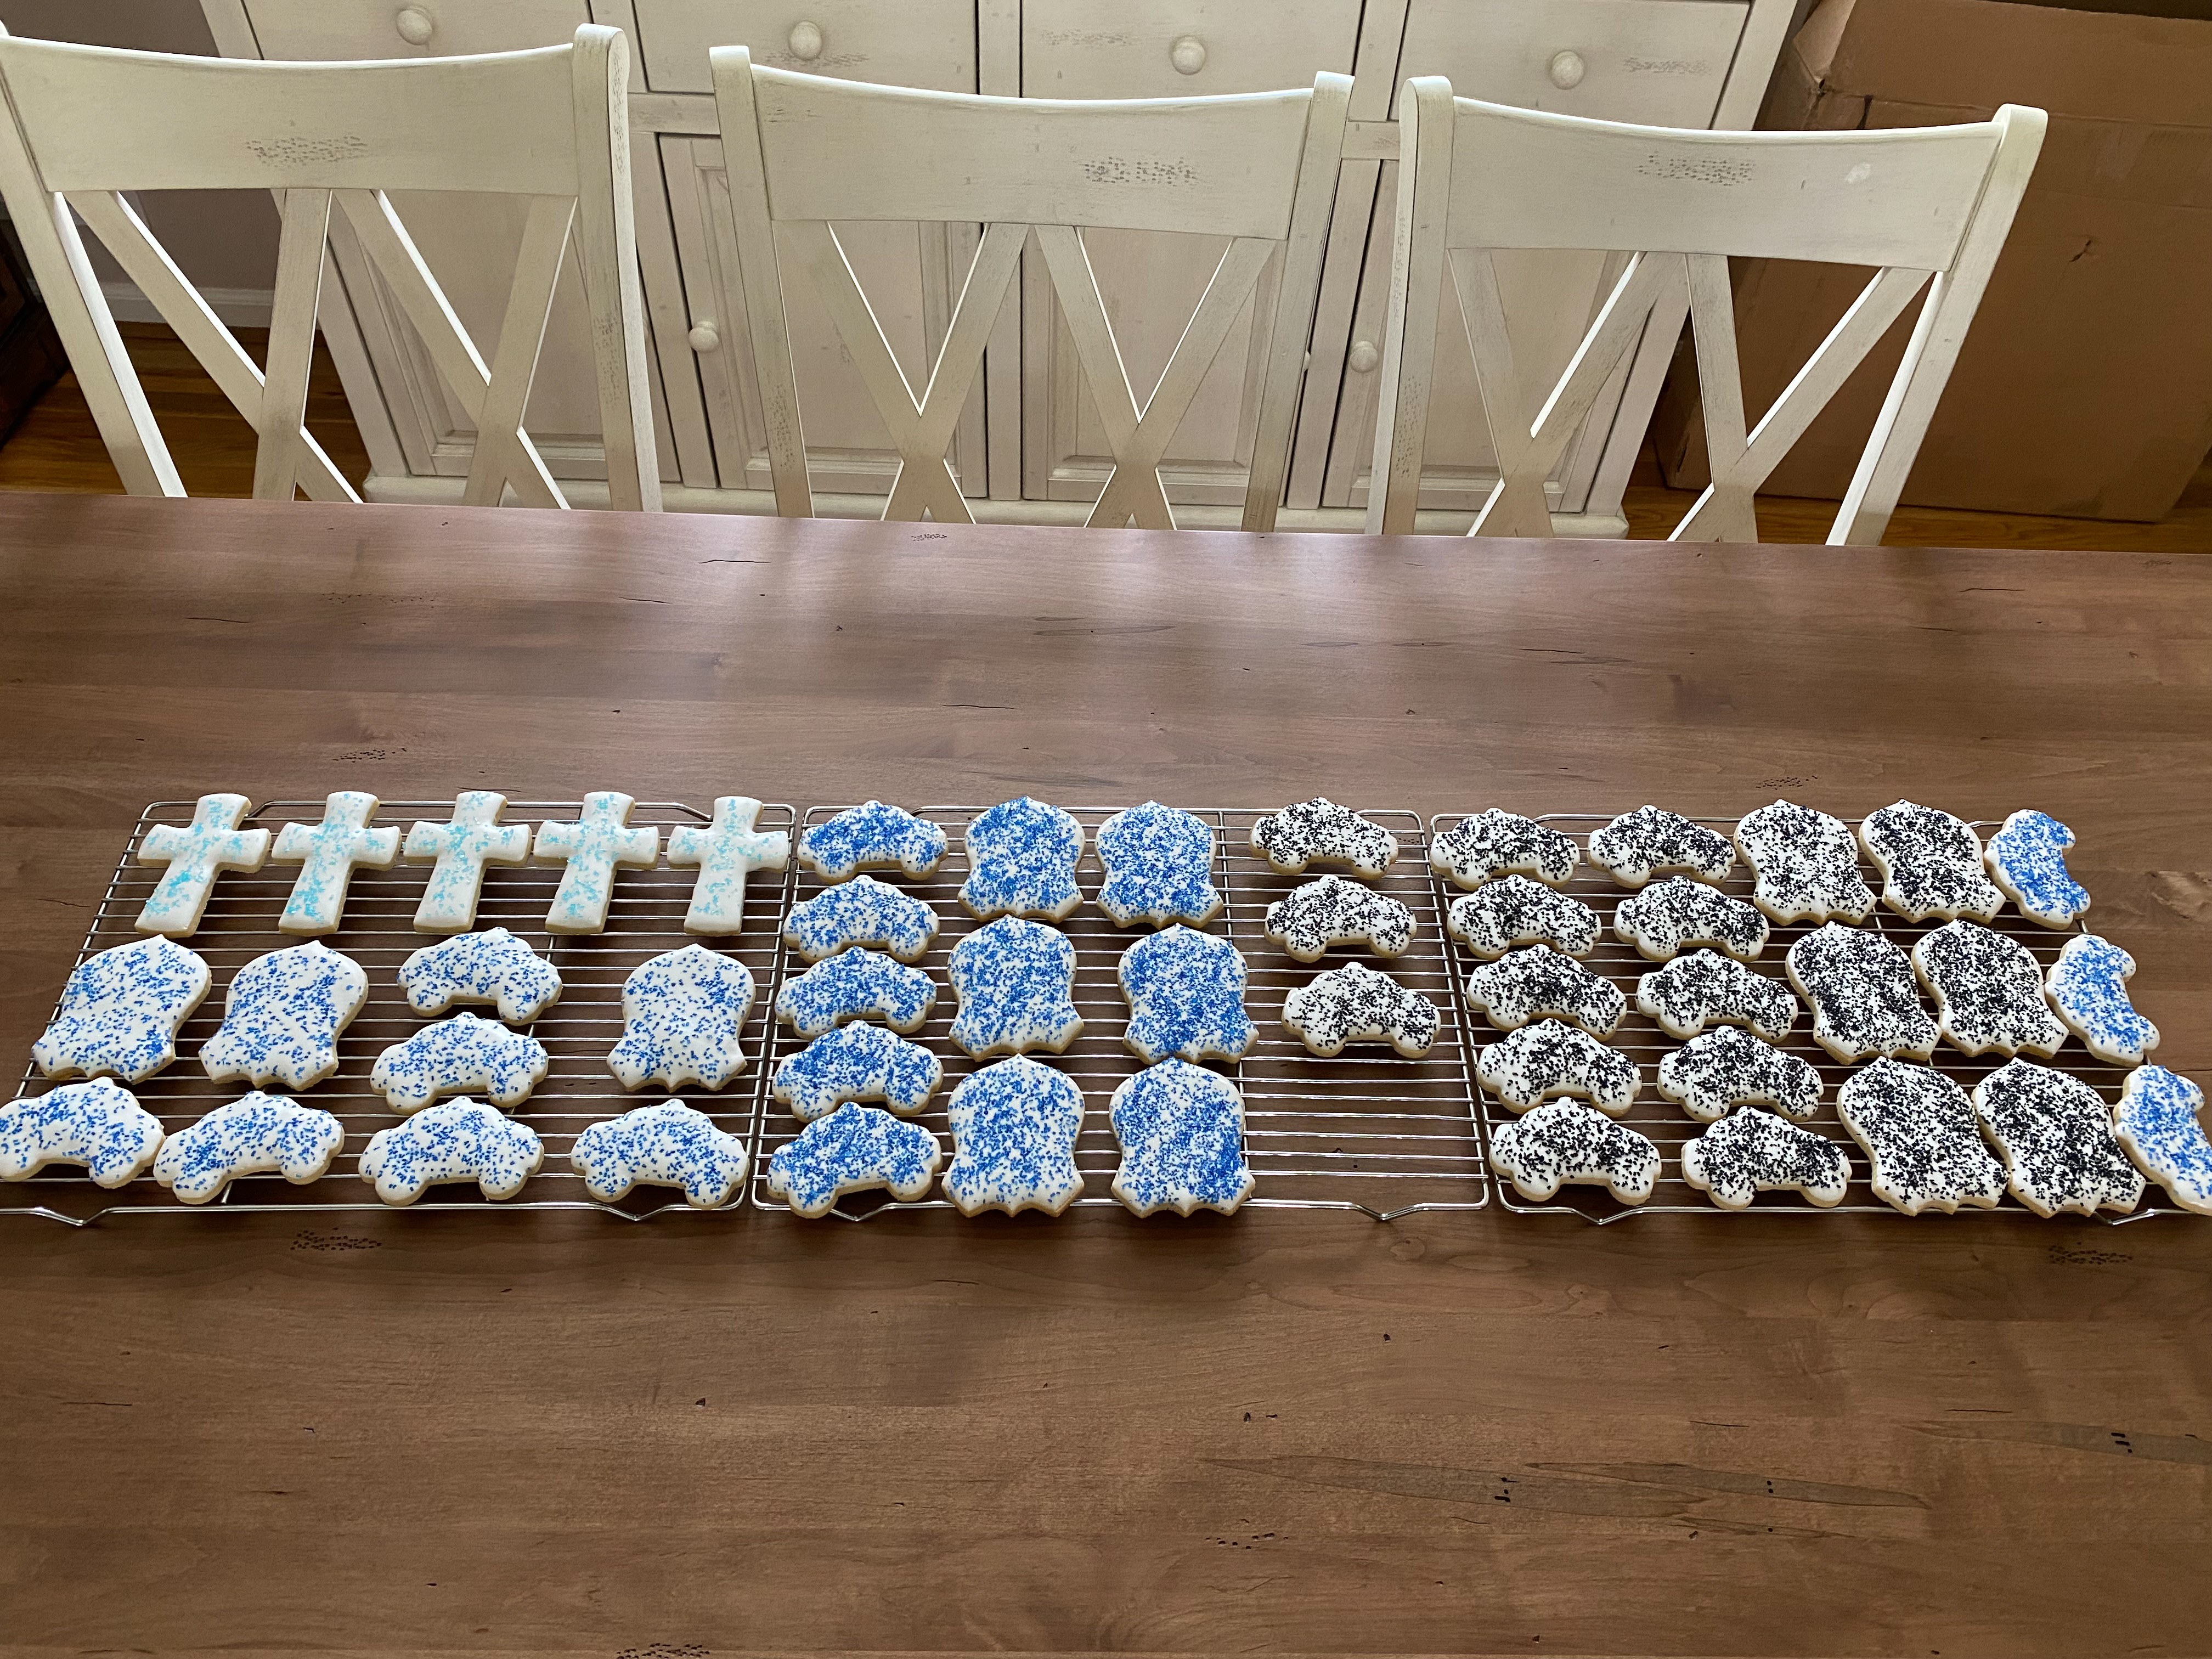
A double recipe made 54 cross cookies (for my sons' and nieces' First Communion party).


Best Sugar Cookies

Recipe courtesy In Katrina’s Kitchen website


Soft cut out sugar cookie recipe that keeps its shape and dough does not need to be chilled before baking – perfect edges every time!


1 cup unsalted butter, room temperature

1 cup granulated white sugar

1 teaspoon vanilla extract

½ teaspoon almond extract (optional – if not using, replace it with an equal amount of vanilla extract)

1 egg, room temperature

2 teaspoons baking powder

½ teaspoon salt

3 cups all-purpose flour


PREHEAT oven to 350°.


In the bowl of your mixer, CREAM butter and sugar until smooth, at least 3 minutes.


BEAT in extracts and egg.


In a separate bowl, COMBINE baking powder and salt with flour and add a little at a time to the wet ingredients.


IMPORTANT NOTE: If the dough looks crumbly keep mixing for 30 seconds to 1 minute longer. The dough should be pulling away from the sides of the mixer.


If the dough still looks too dry or stiff for your mixer, turn out the dough onto a countertop surface, flour surface as needed. Wet your hands and finish off kneading the dough by hand.


DO NOT CHILL THE DOUGH. Divide into workable batches (2-3 chunks), roll out onto a floured surface, and cut. You want these cookies to be on the thicker side (closer to 1/4 inch rather than 1/8). Add sprinkles on top of cookies before baking.


Bake at 350° for 6-8 minutes for smaller cookies or 8-9 minutes for larger cookies. Let cool on the cookie sheet until firm enough to transfer to a cooling rack.


Yield: 36 cookies.


Photos from March 2022 for my brother-in-law's retirement party:


Photo from April 2022 using royal icing and sprinkles:


Photo from December 2022:


Photos from January 2023 for my twin boys' 5th Birthday - a double recipe made 64 cookies! I brought some to school for them (on 2 separate days since they are with different groups of kids) and used the rest for their birthday party at home. Everyone loved them!:


Photo from January 2026 for my twin boys' 8th Birthday - a double recipe made 54 cookies. I used dye-free sprinkles on these.