Wednesday, April 13, 2016

Mixing Bowls, Measuring Cups & Spoons and Spatulas Review

To see my new review from January 2024, please look here!

This review is about some important baking items - mixing bowls, measuring cups and spoons, and spatulas! If you enjoy baking and want to update old sets of these items or don't know what to register for, keep reading!


I'll start off with mixing bowls. I have three sets, and use two of them all the time. The OXO Good Grips Stainless Steel Mixing Bowl Set of 3 are my favorite. This set includes 1-1/2, 3 and 5 quart bowls. I like that they are stainless steel, but the white exterior makes them look nice, and the non-slip base is helpful to have when stirring and mixing. I especially like to use these when using my hand mixer.


The second set that I use all the time is the Melamine 3-Piece Mixing Bowl Set from Williams-Sonoma. The bowls are 2, 3 and 4 quart sizes. They come in a variety of colors (red, grey, blue, white, yellow, teal). The available colors of these items tends to change, sometimes depending on the season (for example, orange in the fall). I chose the blue to coordinate with the other navy items in my kitchen. This set is pictured below (the round bowls), but is no longer sold. They do still sell the Melamine Mixing Bowls with Spout, Set of 3, also pictured below, and which I also have. Out of the two sets, I prefer the round ones and use those more often, but I do use both.


My third set of mixing bowls barely gets used. It is the 10-Piece Glass Mixing Bowl Set from Williams-Sonoma. These bowls are very nice, but I use them less simply because they are less accessible when I am baking, and I prefer to use the other bowls rather than glass if I am using a hand mixer in the bowl. However, I have found that these glass bowls come in handy when making this delicious almond cake bars recipe because you melt the butter in the biggest bowl, and then mix all of the other ingredients into that same bowl with a spatula. I am sure I will find more uses for this set in the future, as the varying sizes are nice to have and would be great for entertaining as well as baking.


Now on to measuring cups and spoons. My favorite set to use are the Williams-Sonoma Stainless-Steel Measuring Cups & Spoons. These come in boxed sets by even or odd sizes. My husband and I received both sets as wedding gifts, and I absolutely love them. The only thing that would make this set better would be if a 1/8 tsp, 1-1/2 tsp and a 2-cup measuring cup were included or available to buy separately. Unfortunately, these are becoming unavailable online, but you might still be able to find them in the stores. Hopefully Williams-Sonoma will come out with a replacement set that is just as nice.

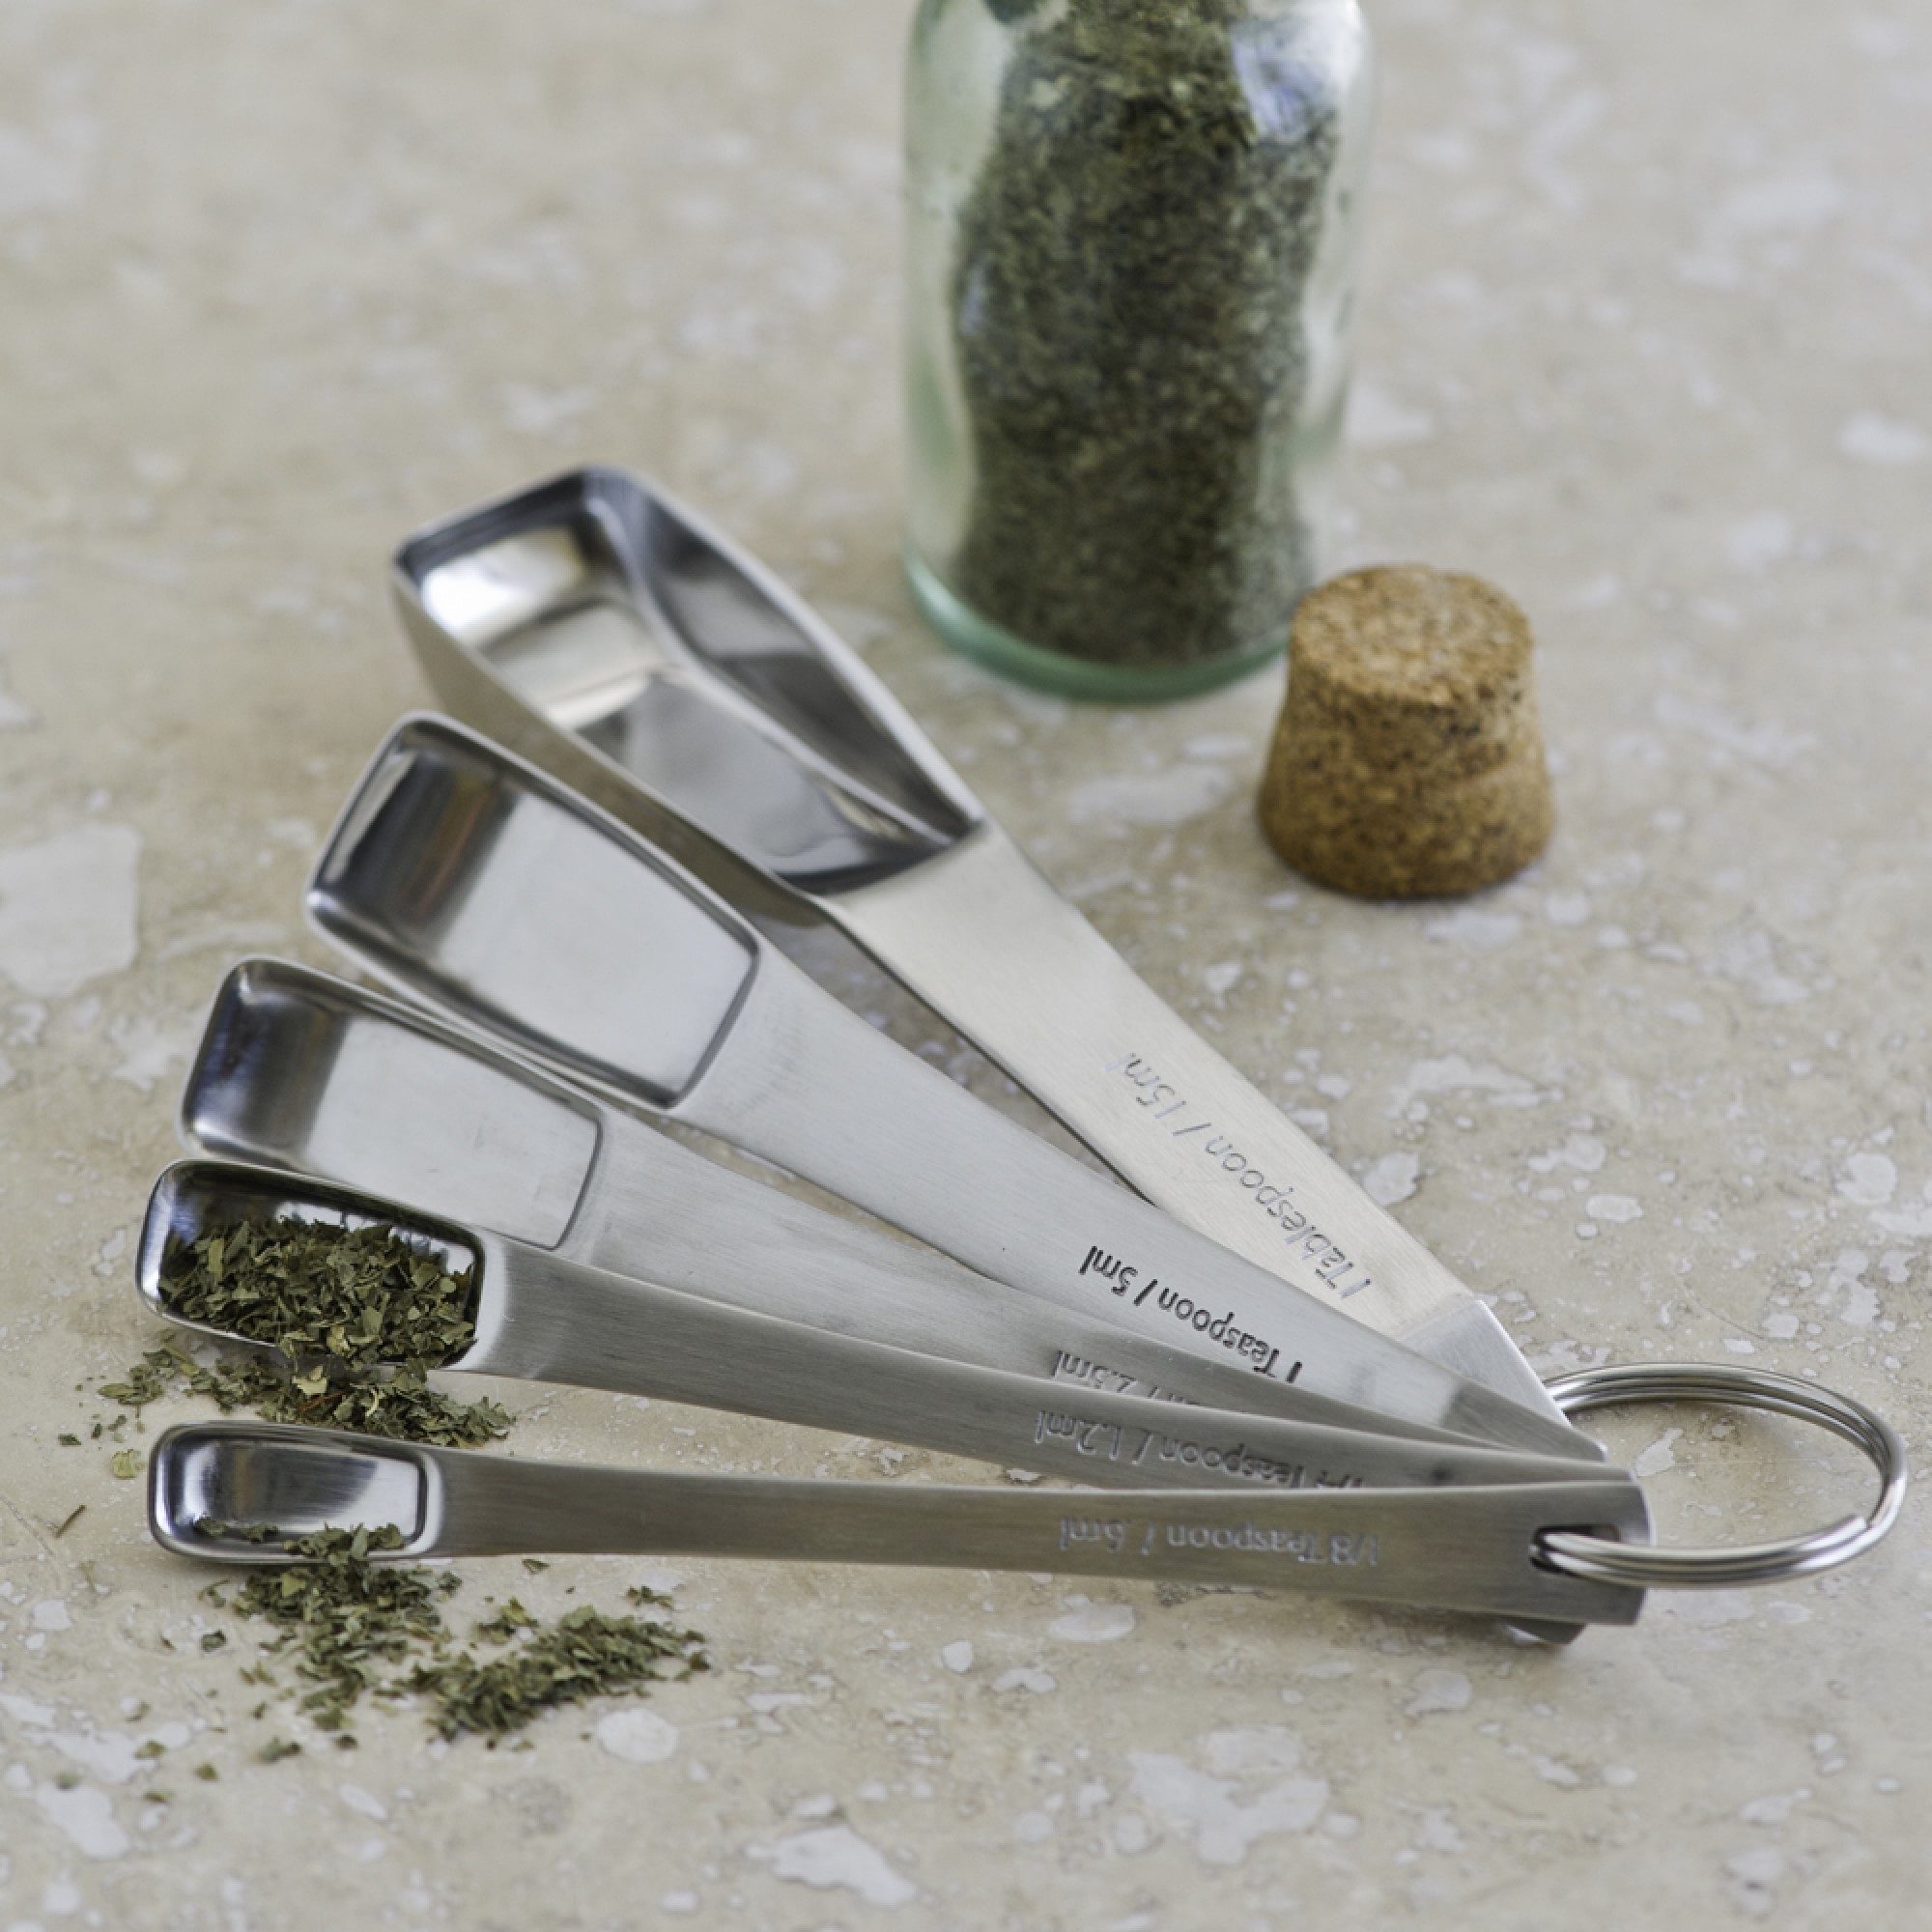
Williams-Sonoma also sells a set of Narrow Measuring Spoons, which are useful for fitting into spice jars and other narrow containers. I appreciate that this set comes with a 1/8 teaspoon size! I especially like that both sets of the stainless steel measuring cups and spoons mentioned have the measurements engraved into them so they won't rub off like some sets that have them printed on.


I also have a set of Tupperware Measuring Cups & Spoons that I purchased on eBay years ago. My mom used to have Tupperware parties all the time and always used them, so I had to get a set! I have been using them less and less since receiving the stainless steel set, but it is always helpful to have an extra set of measuring cups and spoons when baking!

Lastly, spatulas. I will admit that I have an absurd amount of spatulas. My favorite baking spatula is the OXO SoftWorks White Silicone Spatula, so much that I have two. I also love using the red version of this spatula for red sauce so my white ones do not discolor. The jar spatula is helpful to fit into narrow jars. I also have a white spoon spatula that I don't use that often. OXO is one of my favorite brands of kitchen utensils, and I bought almost all of mine for great prices at Home Goods and TJ Maxx!


I also enjoy using my Williams-Sonoma Silicone Spatula with Classic Wood Handle. I bought the matching spoonula and mini set too while they were still available in navy, to coordinate with the other navy items in our kitchen. If this full set came in navy, we definitely would have registered for it!


I love to bake and these are some of my most used and loved baking tools. I hope my review has been helpful!

Tuesday, April 12, 2016

Chicken, Veggie & Lo Mein Stir-Fry

When my husband and I were dating, stir-fry is one of the dinners we often made for each other. He never uses a recipe, and I have a terrible memory, so I am writing it out! We always make this a little different depending on which veggies we have, but this is the general idea of what we do. We have been using the Mann's Family Favorites California Stir-fry Vegetables because it's a good amount or veggies for 2 people. Sometimes we add more veggies to the stir-fry, like mushrooms. Sometimes we also use jasmine rice instead of lo mein noodles. We've tried Chinese noodles and Udon noodles as well. This amount typically feeds both of us with some leftovers. Last night I made it just for myself and got 4 dinners out of it.

After making this a few times in a large frying pan and having trouble fitting everything in it, we purchased the Calphalon Tri-Ply Stainless Steel 12" Stir-Fry Pan. This wok is spacious and comes with a lid (most others we found did not include a lid). It's easy to clean too. You can find woks at places like Home Goods and TJ Maxx as well. It also helps to use a wok paddle to stir everything together. It really works better than any other utensil when cooking in a wok!

If you're looking for a new easy meal to make for yourself or your family, give this a try!

Chicken, Veggie & Lo Mein Stir-Fry

2 chicken breasts, cut into bite-size pieces
12-ounce bag Mann's Family Favorites California Stir-fry Vegetables (broccoli, carrots, and snow peas)
Small package mushrooms, sliced
10-ounce package Lo Mein egg noodles
Teriyaki Marinade
Soy Sauce

Cut the chicken and marinate in the teriyaki sauce for at least 30 min or overnight.

Heat vegetable oil in a wok or large frying pan and cook chicken.

Boil half of the package of noodles according to package directions (or the whole package if you prefer more noodles).

Steam stir-fry vegetables in microwave according to package directions, or saute fresh vegetables until half-way cooked.

Once chicken is cooked, add veggies to the wok. Add more marinade if needed. Cover for a few minutes until veggies are cooked through.

Add noodles or rice and stir everything together. Add soy sauce to your liking, and serve.

Serves 3-4.


Photos by JoJo

Monday, March 28, 2016

Lemon Burst Cookies

A few years ago my cousin Michael and his wife Tina gave out homemade Lemon Burst Cookies as favors for their wedding. Since then, these cookies have been made for a few family parties and they are always a hit. They are so delicious and are the perfect cookie for the spring and summer months. If you like lemon-flavored desserts, give this recipe a try!

I like to use fresh lemon juice instead of lemon extract so I added that to the original recipe. I used a small cookie scoop and got exactly 40 cookies out of 1 recipe. These are so good!


Cookies made by my sister Regina

Cookies made by Tina

Photos by JoJo

Tuesday, March 1, 2016

Cookies and Cream Ice Cream

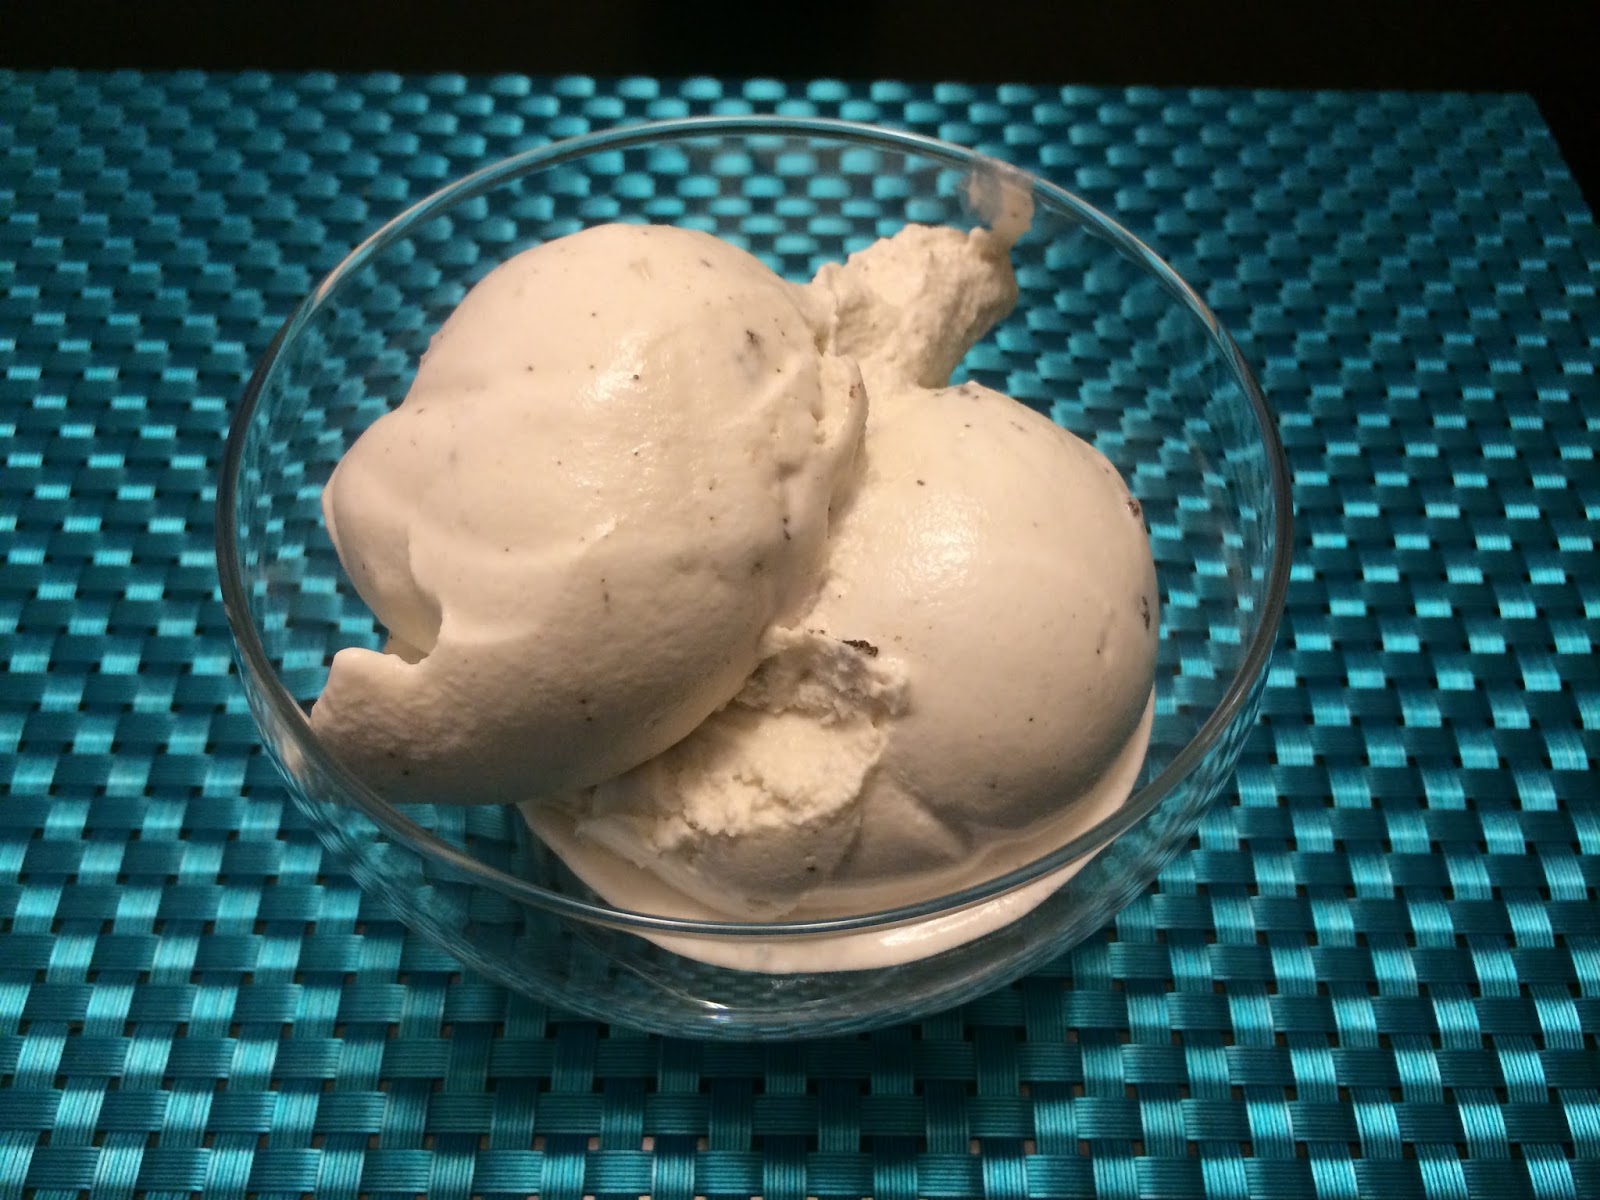
I recently posted a homemade Butter Pecan Ice Cream Recipe, and here is another one of my favorites, Cookies and Cream Ice Cream. The pictures below are from the first time I ever made my own ice cream in my Cuisinart Ice Cream Maker. The only thing I did differently the second time I made this recipe was that I chopped the Oreos a bit bigger. I have also used this recipe and substituted the 1 cup of Oreos for something else - chopped Reese's Peanut Butter Cups, chocolate chips, etc. This is a great first recipe to make, so give it a try!

Update June 2024: I now make this in a different ice cream maker. Once the ice cream is completely done churning, I transfer it to a bowl and then mix 1 cup of coarsely chopped Oreos in (about 6 Oreos), then transfer the finished ice cream to a container, top it with 2 more chopped or broken up Oreos and freeze it. I also try not to buy Oreo brand cookies anymore, and instead buy either the Trader Joe's or Newman's Own version, which have better ingredients in them. See newer photos at the end of this post!


Cookies and Cream Ice Cream

Recipe courtesy Chew Out Loud Website


This Cookies and Cream Ice Cream is wonderfully creamy, without eggs. Only uses a handful of ingredients. Easy, quick, and absolutely fantastic.


1 cup whole milk, very cold

½ cup to ¾ cup granulated sugar

2 cups heavy cream, very cold

2 teaspoons pure vanilla extract

1 cup coarsely chopped Oreos (or any brand chocolate sandwich cookies)


In a cold bowl, whisk together milk and sugar until sugar is dissolved. Stir in heavy cream and vanilla.


Pour into ice cream maker's freezer bowl. Let it run for about 20 minutes.


Add in the chopped Oreos and keep it running for another 5-10 minutes or until ice cream is thick and done.


Transfer to container and place in freezer about 2 hours to completely firm up.


Photos by JoJo

A healthier alternative to Oreos that still tastes just like them


Butter Pecan Ice Cream

Butter Pecan ice cream is one of my favorites, and this recipe has so far been the best homemade recipe I've tried. It is worth noting that one reason I like to make my own ice cream is so I know what's going into it. I try to buy heavy cream that has the least amount of additives possible. Trader Joe's sells heavy cream that is only cream (milk)! When I don't make my own ice cream, the only kind I will buy is Turkey Hill All Natural Ice Cream, for the same reason I stated above - it only has a few ingredients. Compare those few to the massive ingredient list on other ice cream containers and you will see the difference. I can now taste the difference as well, and feel so much better knowing that my nightly bowl of ice cream isn't loaded with junk!

Making homemade ice cream is pretty simple. I have two ice cream makers, a Cuisinart and a KitchenAid Mixer Attachment. I bought the Cuisinart soon after buying my house and liked that it came with an extra bowl. The KitchenAid attachment had less favorable reviews, so I passed it up, but I later received it for free as a promotion with the KitchenAid Stand Mixer that my parents gave to me and my husband for our wedding. I have been using the KitchenAid attachment lately just because it is easier to get it out and use it on the mixer that is always sitting on the counter. However, they both work great and hold the same amount of ice cream. The only thing you have to be aware of is that the ice cream maker bowls need to freeze for at least 24 hours before making the ice cream. I have an extra freezer in my basement and keep the bowls in there at all times, so this is not an issue for me, but it may require planning ahead for others.

This Butter Pecan Ice Cream Recipe is from the Cuisinart website, and it's very simple to make. You can also use this recipe as a base (the milk, sugar, salt, heavy cream and vanilla extract) and add in 1 cup of whatever you choose to make different flavors of ice cream. Cookies and cream is another one of my favorite recipes, so I recommend Oreos!

I enjoy soft ice cream, but it is pretty soft right after it is finished in the ice cream maker, so I usually freeze it for an hour or two before eating it. I use these Ice Cream Storage Containers to store the ice cream, and they fit the amount that these two ice cream makers make. While I'm on the subject, I may as well mention that this is my absolute favorite ice cream scoop! Give this recipe a try!

Butter Pecan Ice Cream

Recipe courtesy Cuisinart


The butter used to toast the pecans can be saved and used over pancakes or waffles.


4 Tablespoons unsalted butter

1 cup pecans (halves, pieces or whole)

1 teaspoon sea or kosher salt

1 cup whole milk

½ cup to ¾ cup granulated sugar

Pinch sea or kosher salt

2 cups heavy cream

1 Tablespoon pure vanilla extract


Melt the butter in a medium skillet. Add the pecans and 1 teaspoon of salt. Cook over medium-low heat until pecans are toasted and golden, stirring frequently, about 6 to 8 minutes. Remove from the heat, strain and reserve the pecans, allowing them to chill. The butter can be used for another use – delicious over pancakes or waffles.


In a medium bowl, use a hand mixer on low speed or whisk to combine the milk, sugar and pinch of salt until the sugar is dissolved. Stir in the heavy cream and vanilla. Cover and refrigerate at least 2 hours, or overnight. Whisk mixture together again before pouring into the ice cream maker.


Pour the mixture into the mixing bowl of the Cuisinart® Ice Cream and Gelato Maker fitted with the ice cream paddle. Turn unit on, set Timer and press Start. Let mix until thickened, about 40 minutes. Five minutes before mixing is completed, add the reserved pecans through the mix-in opening and let mix in completely. The ice cream will have a soft, creamy texture. If a firmer consistency is desired, transfer to an airtight container and place in freezer for about 2 hours. Remove from freezer about 15 minutes before serving.


Makes about 5 cups.


Photos by JoJo

Wednesday, January 27, 2016

Pizza Dough

Growing up in a large Italian family, homemade pizza was always one of my favorite meals. My mom made it all the time when I was a kid. From an early age, I started helping her and later started making my grandmother's recipe of about 12 pizzas on my own, sometimes even doubling the recipe for pizza parties! Since I moved out and am now only cooking for 1 or 2 people in a small townhouse kitchen, I started using a pizza stone and pizza peel instead of pizza pans and found a recipe that makes 2 pizzas. I've been snowed in for the past few days and now that most people are out and about again, I didn't want to head to the grocery store in case it is low on food or packed with shoppers. So I decided I would make pizza for dinner so I can take it in my lunch for the two remaining work days this week. Luckily I already had all the ingredients!

This Pizza Dough Recipe is pretty simple to make and only needs to rise for an hour, plus another 10 minutes once you divide the dough in half. Following the dough recipe are baking instructions for the pizza stone that I have - adjust as needed for however you are baking your pizzas.

Pizza Dough
Recipe Courtesy Bobby Flay

3½ to 4 cups bread flour*, plus more for rolling
1 teaspoon sugar
1 envelope (2¼ teaspoons) instant dry yeast
2 teaspoons kosher salt
1½ cups water, 110ยบ F
2 Tablespoons olive oil, plus 2 teaspoons

Combine the bread flour, sugar, yeast and kosher salt in the bowl of a stand mixer and combine. While the mixer is running, add the water and 2 tablespoons of the oil and beat until the dough forms into a ball. If the dough is sticky, add additional flour, 1 tablespoon at a time, until the dough comes together in a solid ball. If the dough is too dry, add additional water, 1 tablespoon at a time. Scrape the dough onto a lightly floured surface and gently knead into a smooth, firm ball.

Grease a large bowl with the remaining 2 teaspoons olive oil, add the dough, cover the bowl with plastic wrap and put it in a warm area to let it double in size, about 1 hour. Turn the dough out onto a lightly floured surface and divide it into 2 equal pieces. Cover each with a clean kitchen towel or plastic wrap and let them rest for 10 minutes.

Makes 2 14-inch pizza crusts.

Note: *Using bread flour will give you a much crisper crust. If you can't find bread flour, you can substitute it with all-purpose flour, which will give you a chewier crust.

This recipe does not come with instructions for baking the crust. If you are using a pizza stone, preheat the oven to 500ยบ with the stone on the middle rack for 20-25 minutes (longer for a crispier crust).

Use a rolling pin to spread the dough on a lightly floured surface. Sprinkle your pizza peel with cornmeal and transfer the spread dough to it - crimp the edges to make them thicker and higher so the sauce and toppings do not slip onto the stone. Add cheese, sauce and toppings to your pizza. Gently shake the pizza back and forth on the peel to make sure it will slide off easily onto the stone.

Once the oven is preheated, sprinkle cornmeal on the stone to help prevent the dough from sticking. Reduce the oven temperature to 475ยบGently slide your pizza from the peel on to the stone. Bake for about 10 to 12 minutes.

While the first pizza is baking, prepare the second on the pizza peel.

Use a spatula to transfer the baked pizza to a large cutting board since the second one will be on the peel. Slice the pizza with a pizza wheel or pizza chopper and enjoy!

Combine dry ingredients

Mix with water and oil

Knead into a ball and let rise for an hour

Separate into two dough balls and let rise for 10 minutes

Spread dough using a rolling pin

Crimp edges of dough


Add toppings

Bake for 10-12 minutes on pizza stone


Slice and enjoy!


Photos by JoJo