I'm always on the hunt for new frosting recipes as I just haven't found one that I love. My twin boys turned 5 years old yesterday and I was looking for something new to try. In past years I've made them vanilla cake with vanilla buttercream frosting, chocolate cake with cream cheese frosting, chocolate cake with butter cream frosting, and chocolate cannoli cake (ricotta filling and a whipped cream frosting). All of those cakes were delicious but I wanted something new for this year. I came across this Not-So-Sweet Whipped Frosting Recipe on one of my favorite baking blogs, and it looked perfect!
I made a Hershey's chocolate cake two days ago and I made the frosting yesterday. It was very easy to make. I followed the tips on the blog and my frosting whipped up perfectly. Everyone at my boys' birthday party loved it!
There are a few important things to remember when making this recipe so your frosting turns out the right way. Always use a brick of cream cheese for baking (not the kind in a tub that is meant to spread on bagels). Let it get to room temperature before starting the frosting - I usually leave mine out for 2 hours. I recommend using the paddle attachment for the cream cheese as it kept getting stuck in my whisk attachment; then switch to the whisk attachment when you are ready to whip in the heavy whipping cream. Make sure you are using heavy whipping cream and not just whipping cream, so it will firm up the right way. When you start making the frosting, put your heavy whipping cream in the freezer so it can get really cold by the time you need to add it. Make sure there are no lumps at all in the cream cheese before you add the heavy cream. When you add the heavy cream, slowly add it. After it's all in and you start to whip it on high speed, do not walk away! There is such a thing as whipping the heavy cream for too long - you avoid it by paying close attention to the formation of the soft peaks that you want - and immediately stop whipping at this point. Even a few seconds longer can result in a liquid-y mess which is difficult to salvage. Once your cake or cupcakes are frosted, refrigerate them uncovered for at least 30 minutes to set the frosting. I forgot to uncover mine, but it still ended up fine!
Lastly, the original recipe amounts were for 6 ounces of cream cheese and are listed at the end of the recipe below. I wanted to use the full 8 ounce brick of cream cheese so I put those amounts in this recipe. There was a lot of frosting on my 9x13 cake, but it was so good! This recipe is a keeper for sure!
Not-So-Sweet Whipped Frosting
Recipe courtesy “Sally’s Baking Addiction” Website
Made from only 4 ingredients, this lightly sweetened whipped frosting is creamy and fluffy, yet holds its shape when piped with a piping tip. For best results, review the success tips above and recipe notes below before you begin.
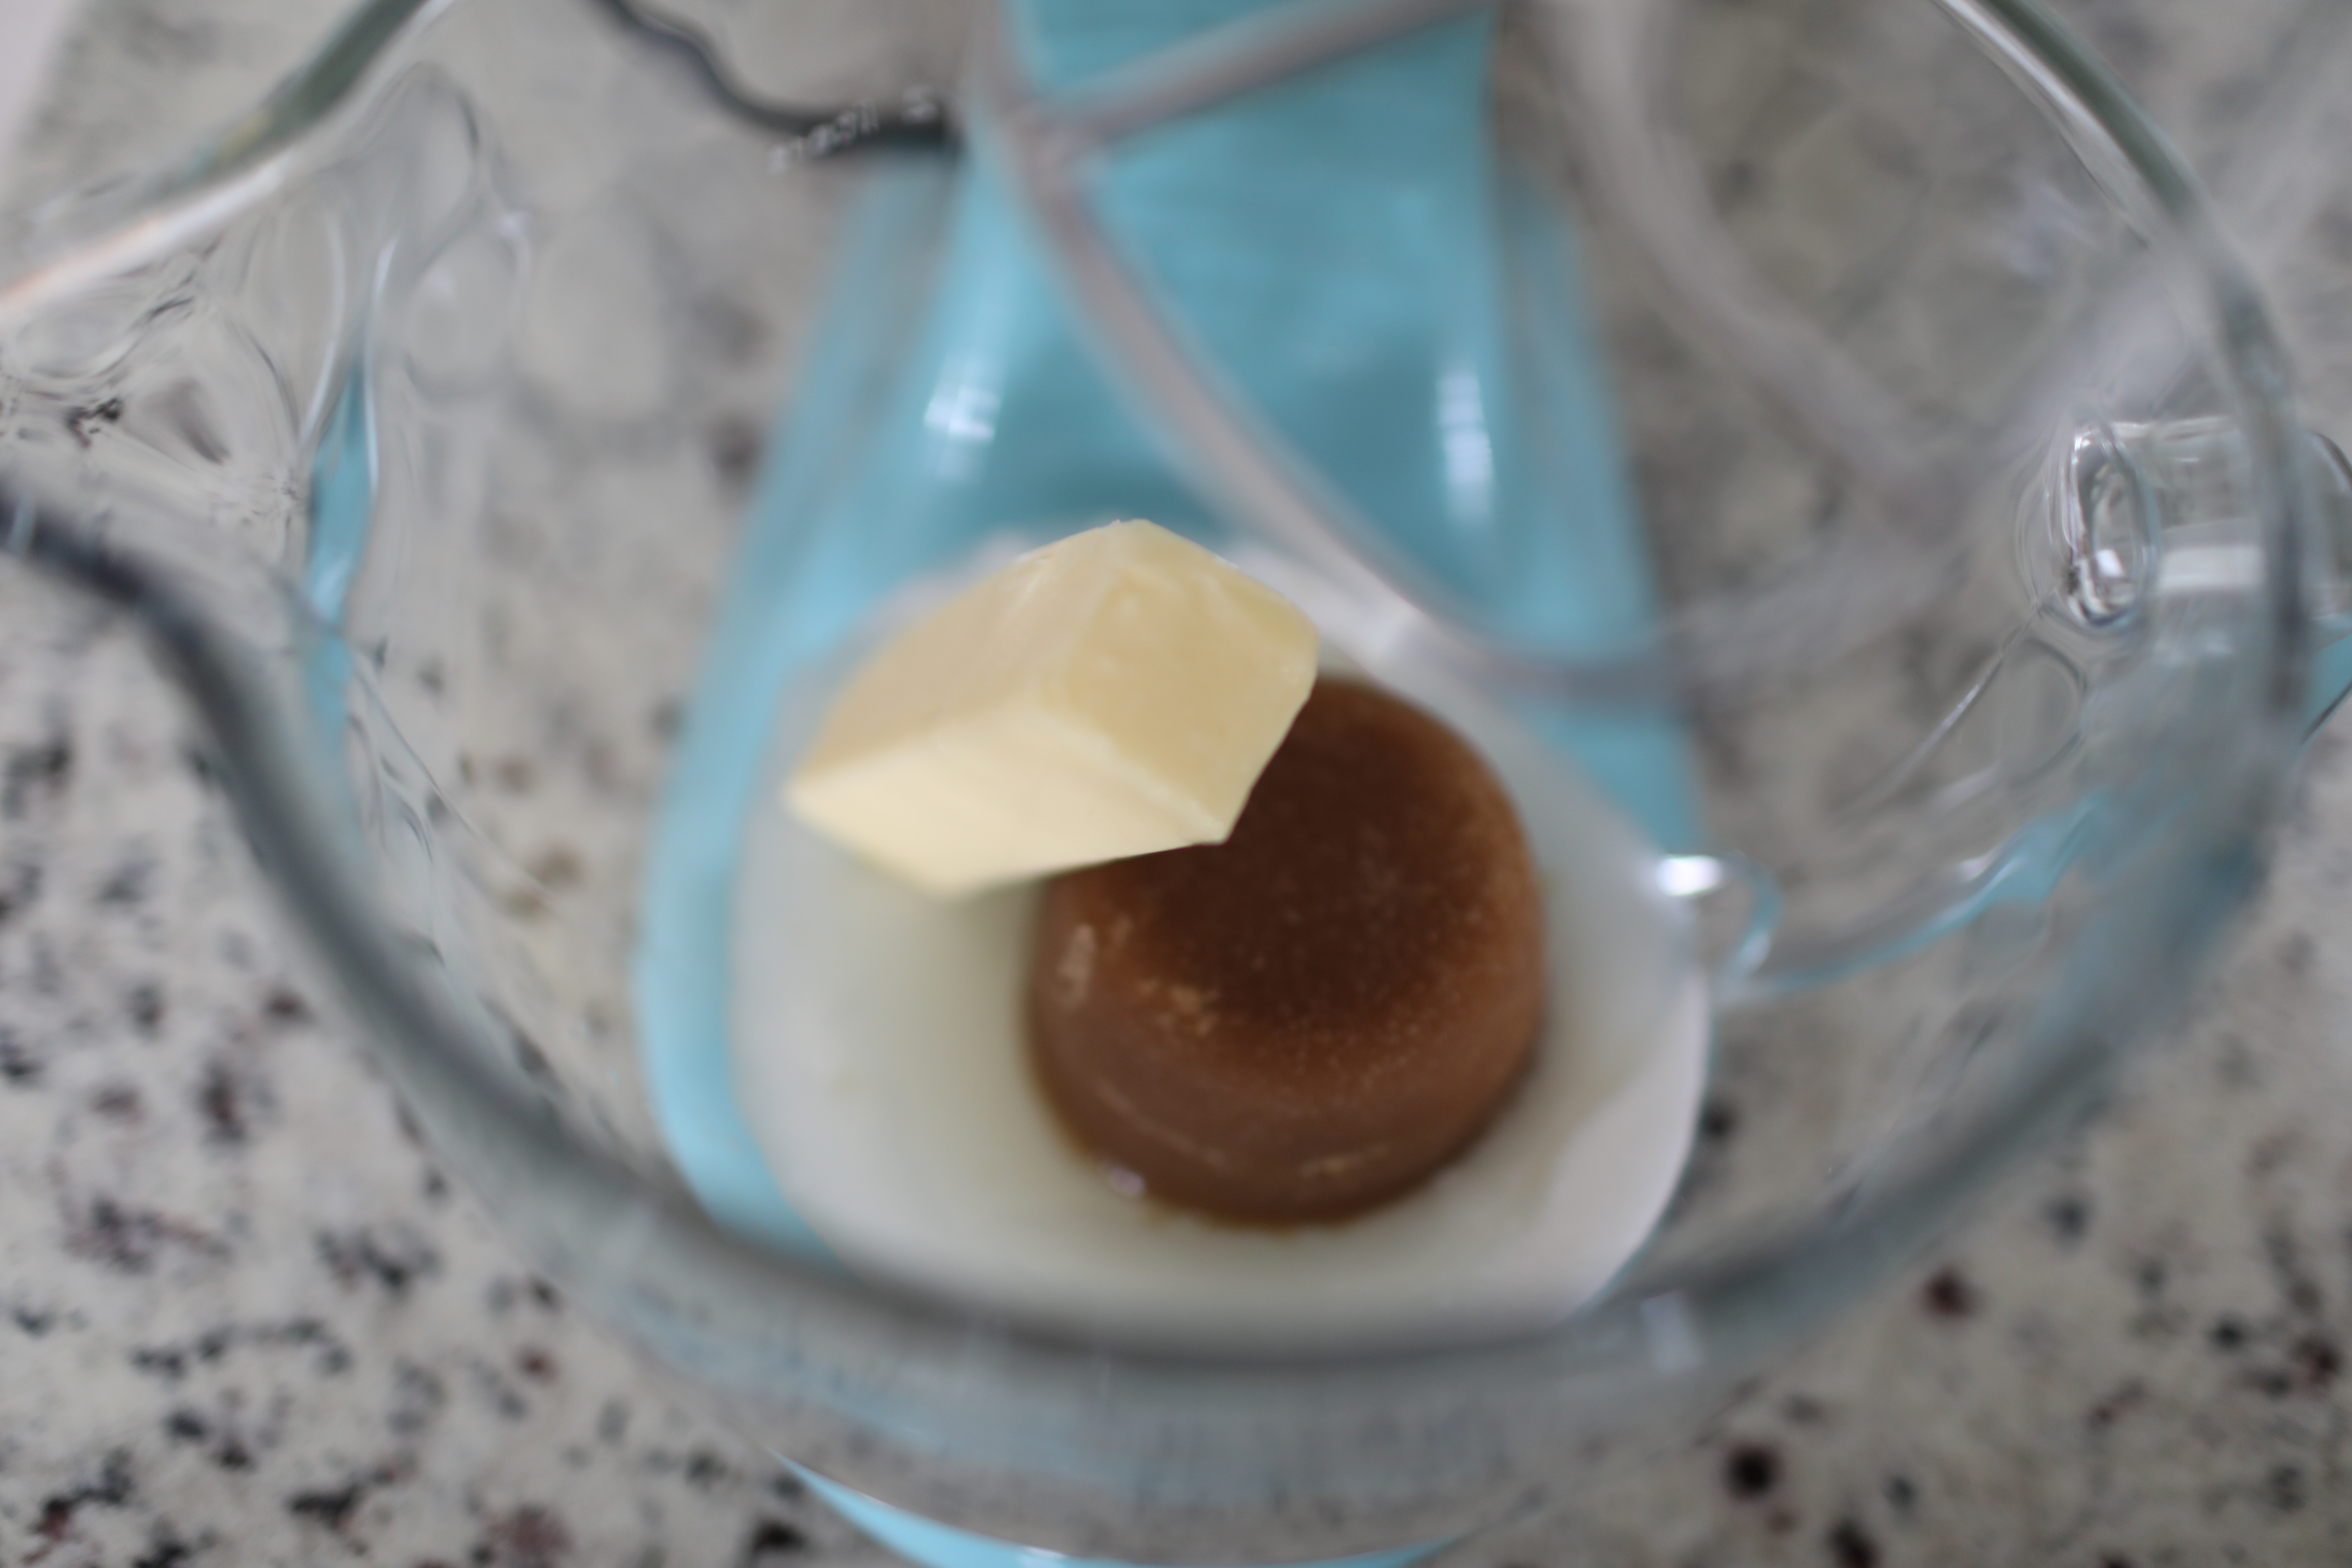
8 ounces block full-fat cream cheese, softened to room temperature
1 cup confectioners’ sugar
2 teaspoons pure vanilla extract
2 cups cold heavy cream or heavy whipping cream (very cold!)
Tip: Freeze the heavy whipping cream when you start making the icing so it is super cold when you add it in - it needs to be very cold!
In a large bowl using a hand-held mixer or stand mixer fitted with a whisk or paddle attachment, beat the cream cheese on medium-high speed until creamy, about 1 minute. Scrape down the sides and up the bottom of the bowl and beat again as needed until creamy. Add the confectioners’ sugar and vanilla extract, and then beat on medium speed until combined and completely smooth (absolutely no lumps), at least 2 full minutes. Scrape down the sides and up the bottom of the bowl and beat again as needed to smooth out.
Switch to a whisk attachment (if you haven’t already been using it). Turn the mixer to low speed and with the mixer running, carefully pour in the cream in a slow and steady stream. After all of the cream has been added, turn the mixer up to high speed and whip until thick and stiff peaks form, about 1-2 minutes. This time can vary depending on the exact temperature of ingredients, temperature in the kitchen, and even the humidity. Do not walk away during this time and do not be concerned if your frosting takes longer to whip. You’re looking for a thick, airy consistency with stiff peaks. If you were to shimmy and shake your bowl, the frosting would hardly move. If your frosting appears soupy now or at any point you are working with it, it needs more whipping to introduce more air. If your frosting appears chunky or curdled, it’s over-whipped. To fix, stir 1 tablespoon of heavy cream into the frosting by hand to smooth out again. Use more heavy cream if needed to smooth out.
Use it: After you make the whipped frosting, it’s ready to frost your cupcakes, cake, or other confections. After frosting a cake or cupcakes with this frosting, I strongly recommend refrigerating them uncovered for at least 30 minutes to help “set” the frosting (especially when using it on a layer cake). Then you can serve or set out for a few hours before serving. And please note that you’ll notice the frosting becomes thicker and airier the longer it sits in your mixing bowl. This is not a problem and can easily be fixed by gently stirring it to pop any air bubbles. Likewise, if you notice the frosting really airy and looking over-whipped as you pipe it with piping tips, either “massage” the frosting while it’s in the piping bag (sounds weird, but this can help deflate air bubbles) or pipe back into the mixing bowl and gently stir it. You can even stir in a splash of heavy cream to thin/smooth out if needed.
Serve or Make Ahead: After the 30 minutes of refrigerating to “set” the frosting as instructed in step 3, frosted confections are fine to serve or sit out at room temperature for a few hours. If you plan to serve later than that, such as the next day, I recommend storing in the refrigerator. Lightly cover as best you can. Confections topped with this frosting can be made ahead and refrigerated for up to 2 days.
NOTES:
Freezing Instructions: This whipped frosting freezes and thaws surprisingly well. For best results, I recommend freezing the frosting after you’ve already frosted your cake or cupcakes– as opposed to freezing the frosting in your mixing bowl or other container. Frost your baked good(s), refrigerate for at least 1 hour to really set the frosting, and then cover and freeze for up to 3 months. (Note that covering this frosting can get messy and I haven’t found a workaround for that.) Thaw your frosted baked good(s) at room temperature.
Can this frosting sit out at room temperature or in a warm environment? A few hours at room temperature is fine. If you’re serving your frosted confections outside on a hot day (I’ve done this a few times), refrigerate your frosted cake/cupcakes for up to 1 day. Remove from the refrigerator 30-60 minutes before serving them. This way they start out a little colder and can last longer in the heat.
Can I leave out or replace the cream cheese? No. Instead, I would try a different recipe.
Can I tint this frosting a color? Yes. This frosting holds onto food coloring nicely and I strongly recommend using gel food coloring or natural food coloring powder. If you plan to tint the frosting, it’s best to add the food coloring when you add the heavy cream. If you need to add more food coloring after the frosting is done, gently stir it in by hand. If the frosting becomes too thick, stir in a splash of heavy cream to thin out again.
Can I flavor this frosting? Yes. Feel free to replace up to 1 teaspoon of vanilla extract with another extract of choice such as lemon or coconut extract. If it’s a potent extract such as peppermint extract, I would only use 1/2 teaspoon. You can also turn this into a whipped strawberry frosting by replacing 1/4 cup confectioners’ sugar with 1/4 cup freeze-dried strawberry crumbs/dust.
If your frosting begins losing shape: If your frosting becomes unstable or thins out/loses shape overtime, whip it on high speed until stiff peaks form to reintroduce more air.
Quantity: This recipe yields about 4-5 cups of frosting. This is enough to heavily frost 12-16 cupcakes (as pictured), a 9×13 inch quarter sheet cake, or a 2 layer cake.
6 ounces block full-fat cream cheese, softened to room temperature
3/4 cup confectioners’ sugar
1½ teaspoons pure vanilla extract
1½ cups cold heavy cream or heavy whipping cream (very cold!)
For a 3 layer cake, I recommend slightly scaling up the recipe by using one 8-ounce block cream cheese, 1 cup confectioners’ sugar, 2 teaspoons vanilla extract, and 2 cups heavy cream. After adding the heavy cream, you may need to whip the mixture for slightly longer.
8 ounces block full-fat cream cheese, softened to room temperature
1 cup confectioners’ sugar
2 teaspoons pure vanilla extract
2 cups cold heavy cream or heavy whipping cream (very cold!)
This recipe is very easy to scale up or down. Use 2 ounces of cream cheese per 1/4 cup confectioners’ sugar and 1/2 cup heavy cream. Add more or less vanilla extract. When you are whipping in the heavy cream, reduce or extend that length of time based on the volume. Whip shorter if you scaled down the recipe and whip longer if you scaled up the recipe.