A few months ago I came across this reel for Ricotta Gnocchi and I've been wanting to try them out ever since. Tonight I finally did and they were delicious!
I drained my ricotta for a few hours before making the dough and barely any liquid came out. My dough was pretty wet and difficult to work with initially. I added more flour, a little at a time, until it seemed right. Next time I will try this using homemade ricotta and see if that helps. Since the dough was hard to handle, I was not able to roll smooth looking "ropes". The end product didn't look nearly as nice as I would have liked, but they get covered in sauce anyway so it doesn't really matter. The important thing is how they taste and these did not disappoint!
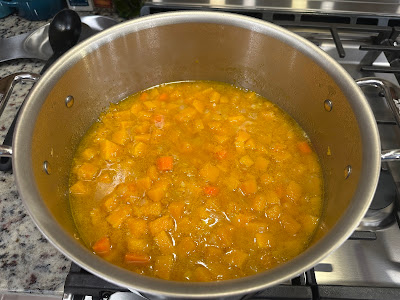
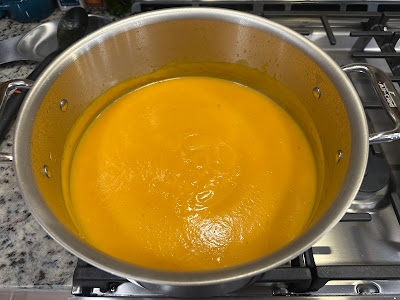
The "sauce" I used for these was actually Butternut Squash Soup mixed with a little bit of pasta water. The combination was insanely good!
Ricotta Gnocchi
Recipe courtesy Meryl Feinstein
454 grams (16 ounces)
best-quality full-fat ricotta, drained and/or blotted dry if needed
55 grams (2 ounces) finely grated Parmigiano-Reggiano or Grana Padano
70 grams eggs (about 1 large egg plus 1 yolk), lightly beaten
3 grams (1 teaspoon) kosher salt
150 grams (1 cup) all-purpose flour
In a large mixing bowl, combine the ricotta, Parmigiano-Reggiano, eggs and salt and mix thoroughly until smooth. Fold in the flour with a spatula until well combined. The mixture should hold together but still be a bit tacky. If needed, add another tablespoon of flour.
Turn the dough out onto a floured work surface and knead for a few moments, with a light touch, until the mixture is homogeneous and there are no visible streaks of flour. You do not need to rest the dough before shaping.
Dust work surface and dough with flour. Cut dough into thick slices (roughly the width of two fingers) using a bench scraper or sharp knife.
Dust a piece of dough with flour and gently roll it back and forth to create a smooth exterior. Continue rolling dough outward into a thick rope, about ¾-inch diameter. If dough gets sticky, dust with more flour. Continue with remaining dough slices.
Cut each rope into bite-size pillows, roughly 1 inch in length.
Line a baking sheet with parchment paper and dust with flour. Closely arrange
gnocchi in a single layer on the prepared sheet without touching. (Finished
gnocchi can sit at room temperature or uncovered in the refrigerator for up to
2 hours.)
Fill a large pot roughly two-thirds full with water and bring to a boil. Season generously with salt.
Using a spider sieve or slotted spoon, carefully lower gnocchi into water and cook until they float to the surface, about a couple of minutes, plus an extra 30 seconds. Transfer gnocchi to a large skillet filled with sauce of choice.
Yield: 2-4 servings.
NOTES:
Tips for Perfect Ricotta Gnocchi:
If you have the time and a food thermometer, try making your own ricotta! It’s simple, and you’re in control of the cheese’s texture.
If using store-bought ricotta, make sure it’s a high-quality, full-fat variety.
The thicker (and drier) the ricotta, the easier it will be to work with. To remove excess moisture from store-bought ricotta, line a baking sheet with paper towels, spread the ricotta across the sheet, top with more paper towels, and blot dry. Repeat if needed. Alternatively, strain the ricotta in a cheesecloth-lined colander for several hours (overnight is even better!).
Keep flour to a minimum to ensure light and fluffy gnocchi.
For extra smooth ricotta, briefly whip in a food processor or blender. A quick blitz removes some of the grainy texture, resulting in creamier ricotta and smoother dough.
 |
| Butternut squash soup thinned out with pasta water for the sauce! |


